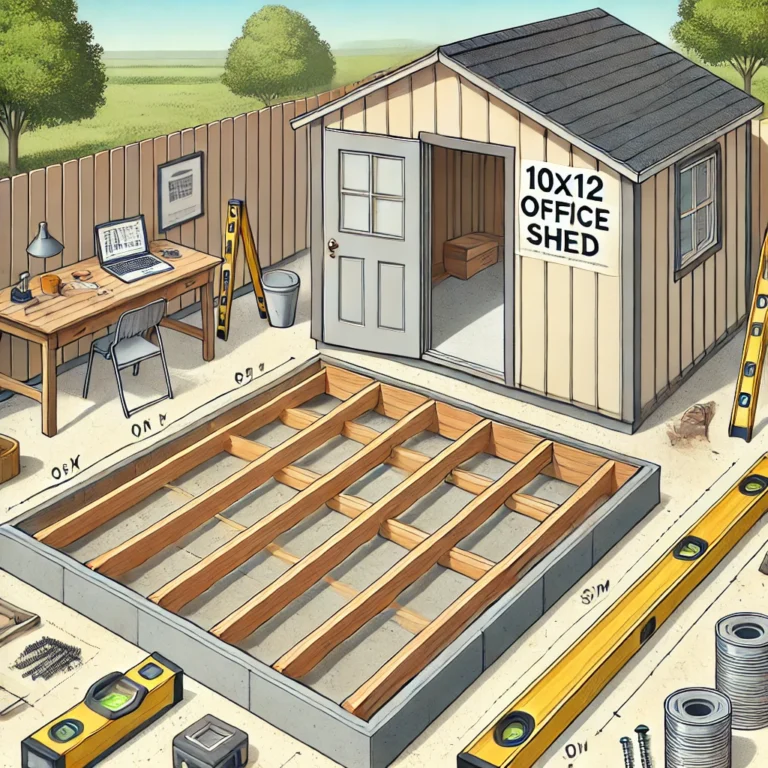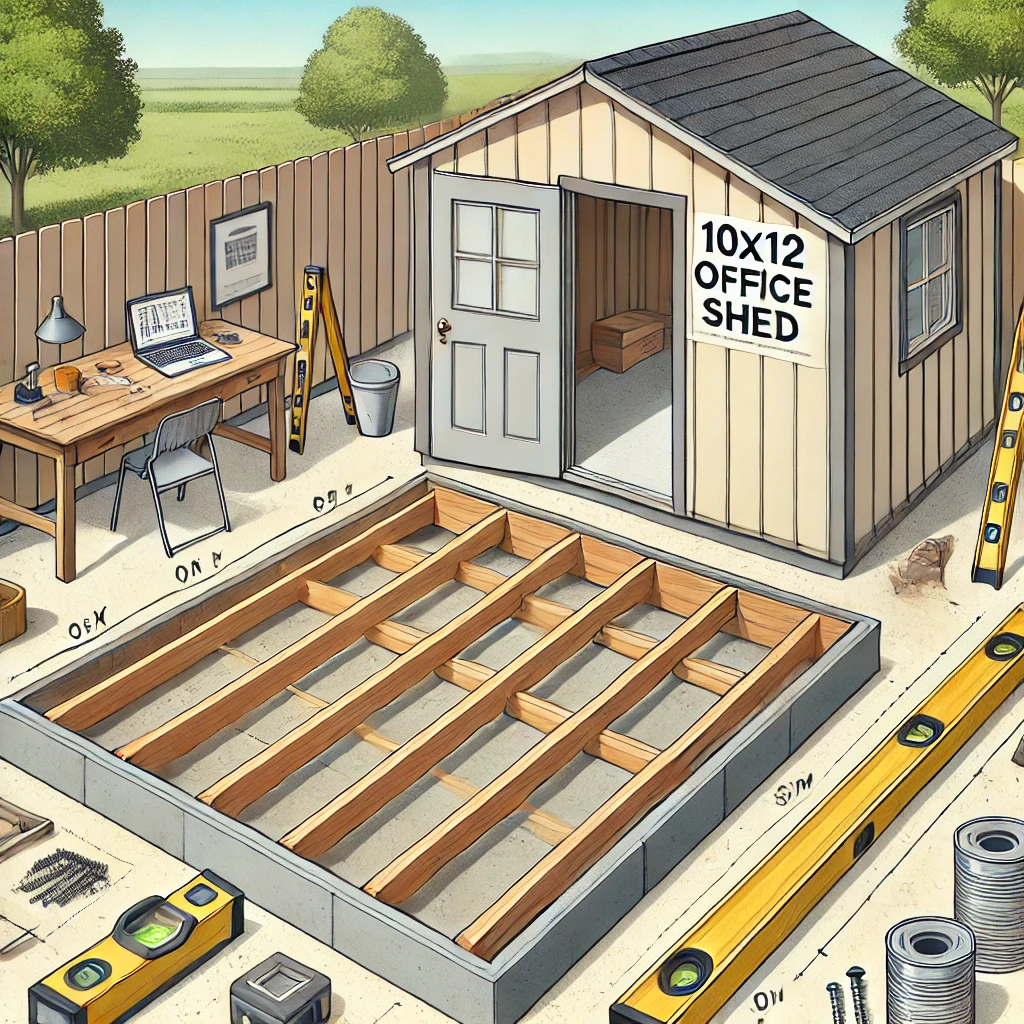
Step 1: Concrete Foundation Preparation
Foundation laying is the critical first step that determines the stability of your entire office shed. Here’s how to execute this crucial phase:
Materials Needed:
- Concrete mix
- Standard-sized bricks (approximately 150)
- Ground preparation tools
Detailed Process:
- Clear and level the ground where your shed will be situated
- Create precise trenches according to the shed’s 10’x12′ dimensions
- Fill the trenches completely with concrete
- Allow concrete to cure fully – this timing varies by brand, so carefully read package instructions
- Once cured, systematically lay standard-sized bricks across the foundation, ensuring even placement
Pro Tips:
- Check foundation levelness using a professional spirit level
- Ensure proper drainage around the foundation area
- Allow adequate curing time to prevent future structural issues
Step 2: Framing the Floor
With a solid foundation in place, you’ll now create the floor’s structural framework.
Materials Required:
- 1 1/2″ x 7 1/4″ pressure-treated lumber
- 8×5″ wood screws
- Carpenter’s square
- Measuring tape
Precise Construction Steps:
- Cut eight lumber boards exactly 9′-9″ long to serve as floor joists
- Carefully assemble the frame, maintaining precise right-angle connections
- Secure each beam using 8×5″ wood screws
- Use a speed square or carpenter’s square to verify 90-degree corner angles
- Double-check all measurements before final securing
Critical Considerations:
- Lumber must be pressure-treated to resist moisture and potential decay
- Precise measurements prevent future structural complications
- Ensure even spacing between joists for maximum floor stability
Step 3: Plywood Floor Installation
Now you’ll create a solid, stable floor surface over your carefully constructed frame.
Required Materials:
- 9/16″ plywood sheets
- 2″ wood screws
- Drill or screwdriver
Detailed Installation Process:
- Prepare plywood sheets:
- Three 4′ x 8′ sheets
- Three 4′ x 2′ sheets
- Position plywood carefully over floor frame
- Secure each plywood section using 2″ wood screws
- Ensure tight, even fitting with minimal gaps
- Verify complete coverage of floor frame
Installation Techniques:
- Start screwing from the center of sheets, working outwards
- Maintain consistent screw spacing (approximately 8-12 inches apart)
- Check for any uneven areas and adjust as necessary
Step 4: Front Wall Frame Assembly
Constructing the front wall involves strategic lumber placement to accommodate door and window openings.
Materials Needed:
- 1 1/2″ x 3 1/2″ and 3 1/2″ x 3 1/2″ pressure-treated lumber
- 2×3″ and 2×5″ wood screws
- Carpenter’s square
Precise Cutting Requirements:
- Six boards cut to 7′-2 3/4″ (studs)
- Two boards cut to 1′-5″ (studs)
- One board cut to 1′-4″ (bottom plate)
- One board cut to 7′-8″ (bottom plate)
- One board cut to 12′ (top plate)
- One board cut to 3′ (door header)
- Two boards cut to 5′ (window header and rough sill)
- Two boards cut to 6 3/4″ (cripple studs)
Construction Steps:
- Arrange lumber according to provided dimensional drawings
- Connect beams using appropriate wood screws
- Use speed square to confirm 90-degree angles
- Verify window and door opening dimensions
Strategic Considerations:
- Precise measurements ensure proper window and door functionality
- Pressure-treated lumber prevents moisture damage
- Consistent angle checks maintain structural integrity
Would you like me to continue with the subsequent steps in the same detailed manner?


