
Welcome to our comprehensive guide about Learn more.
Free 8×10 Shed Plans PDF: What You Get and How to Use It
What the Download Includes
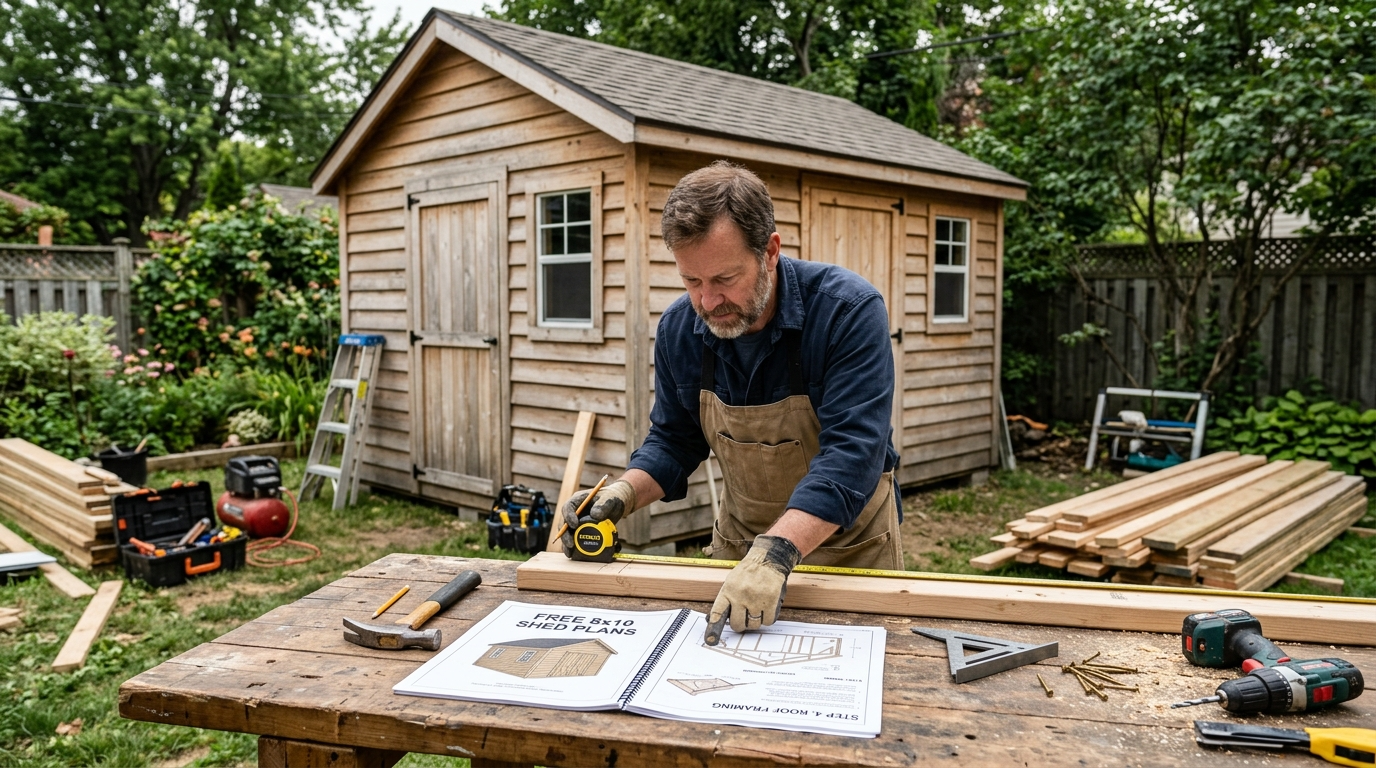
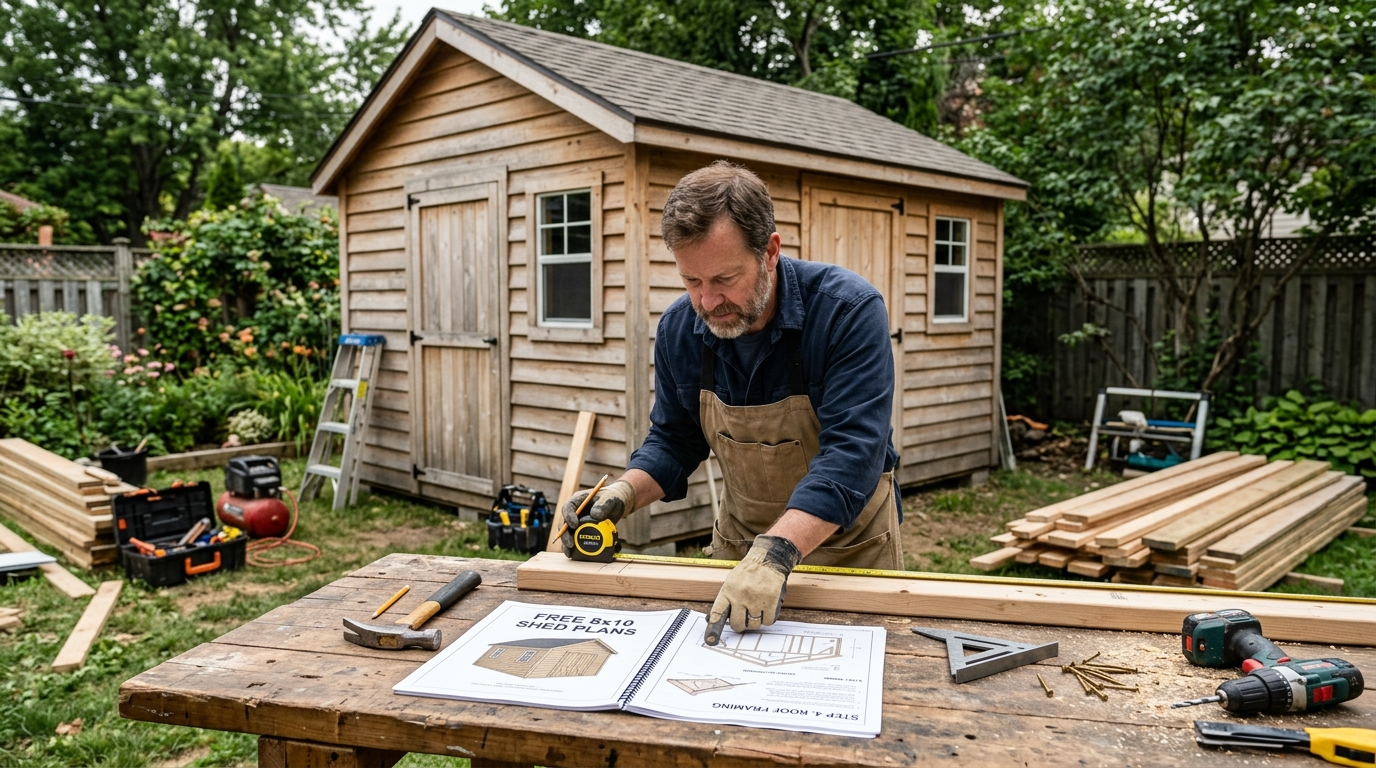
A free 8×10 shed plans PDF usually bundles several documents into one file. Most packages cover everything you need to start building:
- Elevation drawings: Front, side, and roof views with dimensions
- Framing plans: Wall, floor, and roof layouts with stud and joist spacing
- Materials list: Quantities for lumber, sheathing, fasteners, and roofing
- Cut list: Board lengths sized for your saw
- Step-by-step instructions: Guidance from foundation to finishing
Read the entire file before you buy lumber. Some free plans leave out details like door framing or ventilation, so check for them early.
Understanding File Formats
Free plans typically come in three formats. Each one serves a different purpose.
- PDF: Best for reading on screen or printing. Pages keep their layout, so dimensions stay accurate.
- CAD files (DWG or DXF): Editable drawings for anyone who wants to change the size, door position, or roof pitch.
- Printable sheets: Full-size or tiled pages you can mark up on the job site.
For example, a PDF works well if you plan to follow the cut list exactly. If you want a 9-foot door instead of a standard one, you need the CAD version.
Tip: Print at 100% scale and verify the scale bar. “Fit to page” settings can distort dimensions by several inches.
Reading the License Terms
A free plan does not always mean unrestricted use. Check the license before you build or share anything.
- Personal use: Most free plans allow you to build one shed on your own property.
- Resale: Selling finished sheds often requires permission or a paid license.
- Commercial builds: Constructing multiple sheds for clients usually falls outside free terms.
- Redistribution: Posting the file on another website is typically prohibited.
For instance, a homeowner building a backyard storage shed has no issue. A contractor selling ten prefab sheds does. Therefore, confirm the terms before using any free 8×10 shed plans pdf for business work.
When to Size Up to 8×12
Many builders compare an 8×10 design with a free 8×12 shed plans PDF before they start. Consider the larger footprint when:
- You store a riding mower, lawn tractor, or bulky equipment
- You want workbench space alongside storage
- Local rules allow larger structures without extra permits
An 8×12 shed adds about 20 percent more floor space. However, it also requires more lumber, a larger foundation, and stronger floor joists. Check the load ratings in your plan before you extend the length.
8×10 Shed Plans Materials List and Cut List
Complete Materials List
A good free 8×10 shed plans pdf includes a full materials list. Use it as your shopping baseline. Typical lumber and hardware for a gable-roof shed include:
- Pressure-treated 2×6 lumber: floor joists, skids, and rim boards
- Pressure-treated 2×4 lumber: bottom plates and door framing
- Standard 2×4 lumber: wall studs, top plates, and blocking
- 2×6 rafters: cut to the roof pitch in your plan
- 7/16-inch OSB or plywood: wall and roof sheathing
- 3/4-inch tongue-and-groove plywood: floor decking
- Hardware: exterior deck screws, galvanized nails, rafter ties, joist hangers, hinges, and a door latch
- Roofing: felt underlayment, drip edge, and asphalt shingles
Cut List and Waste Allowance
A cut list turns raw lumber into individual pieces. The example below shows typical entries. Always confirm lengths against your plan.
| Part | Size | Length | Quantity |
|---|---|---|---|
| Floor joists | 2×6 | 92 in | 8 |
| Wall studs | 2×4 | 92-5/8 in | 24 |
| Top and bottom plates | 2×4 | 120 in | 6 |
| Rafters | 2×6 | Per plan | 12 |
Add a 10 to 15 percent waste allowance to every lumber count. Knots, miscuts, and warped boards are common. For example, if your list calls for 40 boards, buy about 45.
Estimated Cost and Savings Tips
Materials for an 8×10 shed typically cost $1,500 to $3,000 in the United States. Costs vary by region, lumber prices, and roofing choice. To lower the total:
- Ask the lumber yard to pre-cut pieces. This reduces your waste and saves time.
- Buy lumber in bulk during seasonal sales.
- Choose store-brand OSB instead of name-brand sheathing.
- Use reclaimed pallet wood for non-structural parts like shelving.
Verifying Quantities Before You Buy
Check every count before you order. Doing so prevents costly return trips. Follow these steps:
- Calculate stud count: Divide wall length by 1.33 feet (16 inches on center), then add one stud for each corner and door opening.
- Calculate sheathing sheets: Multiply wall height by perimeter, then divide by 32 square feet per 4×8 sheet. For an 8-foot wall and 36-foot perimeter, you need 288 square feet, or 9 sheets.
- Compare totals to the plan: Your counts should match the materials list within a few pieces.
Therefore, a careful check now protects your budget later.
Free 8×10 Shed Plans PDF: Skill Level, Build Time, and Tools Required
Skill Level: Is It Right for First-Time Builders?
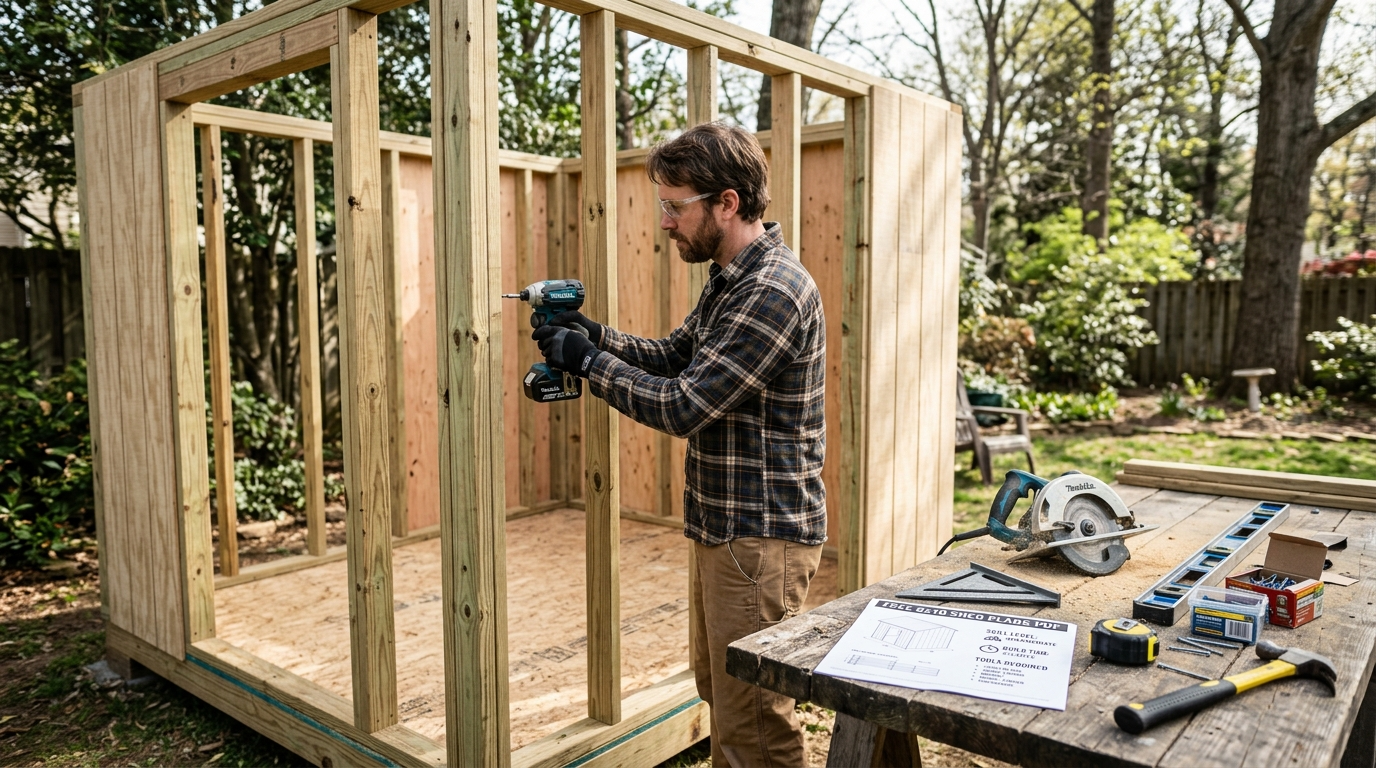
Most builders rate this project as intermediate, but a careful beginner can finish it. The free 8×10 shed plans pdf assumes you can read a cut list, measure accurately, and drive screws straight.
Consider your experience before you start:
- Beginner: You have basic hand tool skills and have completed small projects, such as a raised garden bed.
- Intermediate: You have framed a wall, hung a door, or built a deck.
- Advanced: You can read construction drawings and adjust plans for slope or site changes.
For example, a first-time builder can handle the floor and wall framing with patience. However, roof rafters and door hanging demand more precision.
Estimated Build Time by Phase
Build time depends on your schedule, the weather, and available help. The estimates below assume two people working about six hours per day.
- Foundation: 1 to 3 days, including leveling the gravel pad or skids and checking for square.
- Framing: 2 to 4 days for the floor, wall panels, and gable framing.
- Roofing: 1 to 2 days for rafters, sheathing, underlayment, and shingles.
- Finishing: 2 to 4 days for siding, trim, the door, windows, and paint.
Total time typically ranges from 6 to 13 working days. Therefore, solo builders should add roughly 30 to 50 percent more time.
Tip: Cut all lumber in one session. This saves setup time and reduces mismatched lengths.
Essential Tools and Optional Power Tools
Gather tools before buying materials so nothing stalls the project. Use the free 8×10 shed plans pdf materials list to confirm which items you need.
Essential hand and measuring tools:
- Tape measure and speed square
- Chalk line and 4-foot carpenter’s level
- Framing hammer and pry bar
- Post level and string line
- Shovel, rake, and tamper
Recommended power tools:
- Circular saw with a fresh blade
- Cordless drill/driver with bits
- Impact driver for structural screws
- Miter saw for trim (optional but helpful)
In addition, consider renting a nail gun or air compressor if you want to frame quickly. Renting often costs less than buying tools you will use only once.
Helpers and Safety for Raising Walls and Roof
Raising wall sections is the most dangerous step in the build. Plan for at least two extra people when lifting panels taller than 8 feet.
Follow these safety practices:
- Brace each wall immediately after standing it up.
- Never stand under a panel while it is being lifted.
- Wear gloves, safety glasses, and steel-toe boots.
- Set ladders on firm, level ground and use one rated for your weight.
- Work only in dry, calm conditions.
Roof sheathing creates a serious fall risk. Consequently, install guardrails or use a safety harness whenever you work above head height.
Foundation Options and Site Preparation
Gravel Pad vs. Concrete Slab vs. Skid Foundations
Your foundation choice affects cost, durability, and how level your shed stays over time. Most free 8×10 shed plans PDF guides support three common options.
- Gravel pad: This is usually the cheapest option. Excavate 4 to 6 inches, lay landscape fabric, and fill with compacted crushed stone. It drains well and resists rot.
- Concrete slab: This option is the most durable and stable. It requires forms, rebar, and curing time, so it costs more. It suits heavy equipment or long-term use.
- Skid foundation: Pressure-treated runners rest on gravel or concrete blocks. No deep digging is needed. It works well for lighter sheds on mostly level ground.
Site Selection, Leveling, and Drainage
A good site protects your investment. Avoid low spots where water collects, and check local setbacks before you dig.
Leveling tips:
- Use a string line and a 4-foot level across the footprint.
- Aim for less than 1 inch of variation across the 8-foot width.
- Remove sod and topsoil so the base sits on firm, stable material.
Drainage tips:
- Grade the ground so it slopes about 1/4 inch per foot away from the shed.
- Add gutters and extend downspouts at least 4 feet from the walls.
- Keep the floor frame at least 6 inches above grade to prevent rot.
Floor Loads and Joist Spacing for Storage, Mowers, and Workshops
Floor loads depend on how you plan to use the shed. A lawn tractor can weigh 400 to 700 pounds, while a stacked workbench adds concentrated weight.
For example, a typical storage shed can use 2×6 joists spaced 16 inches on center. A shed holding a riding mower or heavy tools should use 12-inch spacing instead. Closer joists reduce bounce and prevent sagging.
Best practice: Confirm joist size and spacing against your local building code, especially for heavy loads.
Anchoring Against Wind Uplift and Sliding
Wind can lift a light shed off its base or push it sideways. Anchoring prevents both problems.
Common anchoring methods:
- Ground anchors: Auger-style anchors screwed into the soil, connected with metal straps at each corner.
- Concrete anchors: Anneal bolts or wedge anchors set into a slab.
- Hurricane ties: Metal connectors that fasten the frame to the foundation.
Therefore, use at least four anchors, one at each corner. In windy regions, add mid-wall anchors as well. Moreover, check your area’s wind rating before finalizing your plan.
Gable, Lean-To, and Hip Roofs: Which 8×10 Style Fits Your Needs?
Your roof choice affects cost, headroom, and weather performance. Most free 8×10 shed plans pdf downloads use a gable design, but the other styles can work well. Here is how each option compares.
Lean-To Roof: When One Slope Works Best
A lean-to roof has a single sloped surface. The back wall is typically shorter than the front, so water runs off in one direction.
Choose a lean-to when:
- The shed sits against a house, garage, or fence line
- You want the lowest material cost
- It is your first build and you want fewer rafters to cut
However, a single slope gives less headroom and almost no attic space. For example, a typical 8×10 lean-to might have a 6-foot back wall and an 8-foot front wall.
Gable Roof: Headroom, Attic Storage, and Drainage
A gable roof peaks in the center with two equal slopes. It offers the most usable interior space of the three styles.
- Headroom: The peak often reaches 9 to 10 feet, enough for a riding mower.
- Attic storage: The triangular space above the ceiling holds seasonal gear.
- Drainage: Rain and snow shed evenly off both sides.
Moreover, gable framing is straightforward. Most beginners find it the easiest balance of cost and function.
Hip Roof: Wind Resistance vs. Complexity
A hip roof slopes on all four sides and meets at a ridge. It has no flat gable ends for wind to catch.
Trade-offs to weigh:
- Wind resistance: Hip roofs handle storms and gusts better.
- Cost: Extra hip rafters and jack rafters increase lumber and labor.
- Framing complexity: Angled cuts demand precision and experience.
Therefore, a hip roof suits builders with some framing skill or regions with frequent high winds.
Pitch Selection and Truss Basics by Climate
Pitch describes rise over a 12-inch horizontal run. Roof trusses use rafters, a ridge board, and ceiling joists or collar ties to form a stable frame. Pre-made trusses save time but require lifting help.
Recommended pitches:
- Heavy snow regions: 6/12 to 8/12 to shed snow quickly
- Rainy regions: 4/12 to 6/12 for reliable drainage
- Hot, dry regions: 3/12 to 4/12 for simpler framing and less material
Tip: Check your local snow load and wind speed requirements before finalizing pitch. As a result, your shed will meet safety standards and avoid costly rebuilds.
End-Wall vs. Long-Wall Door Options
Your door layout affects how you use the shed every day. The free 8×10 shed plans PDF includes both end-wall and long-wall door options. Each one suits different needs, yard shapes, and traffic patterns.
Equipment Access vs. Tool Storage
Start by deciding what you will store most often.
- End-wall door (8-foot side): Best for narrow, long items like lawn tractors, wheelbarrows, or bikes. The opening runs across the shorter wall, so you roll items in straight.
- Long-wall door (10-foot side): Best for hand tools, shelving-based storage, and a wide, open interior. Walking in along the longer side gives you more clear floor space.
For example, if you park a riding mower, an end-wall door usually works better. If you store hand tools and garden supplies, a long-wall door keeps the most usable wall space free.
Wall Space Trade-Offs and Shelving Placement
A door takes up wall space, so each layout changes where you can mount shelves and pegboard.
- End-wall doors leave both long walls free. This suits wall-mounted shelving along the sides.
- Long-wall doors remove wall space on one long side. Plan shelving on the remaining long wall and the back end wall.
Keep shelves at least 12 inches clear of the door swing. Mount heavy shelves into studs, not just drywall-style anchors. In addition, leave a clear walkway of about 30 inches down the center.
Door Framing, Header Sizing, and Hardware
Door openings weaken wall framing, so the header must carry the load above.
- Header size: Follow the header schedule in the plan. Wider openings typically need a doubled 2×6 or 2×8, depending on the span and roof load.
- King and jack studs: Use extra studs on each side of the opening to support the header.
- Hinges: Use heavy-duty strap or T-hinges rated for outdoor use.
- Fasteners: Use exterior-rated screws or lag bolts that reach solid framing.
Therefore, always verify header sizes against your local building code before cutting lumber.
Choosing the Right Layout for Your Yard
Consider your site before you finalize the design.
- Measure clearance: Confirm the door can swing fully open without hitting fences, decks, or walls.
- Check traffic flow: Place the door facing the path you use most often.
- Consider sun and drainage: Avoid positioning the door where water pools in front of it.
- Plan for vehicles: An end-wall door works well if you need to roll a mower straight in.
Moreover, if your yard is narrow, a long-wall door may fit better because it requires less approach space. Sketch both options on paper before building.
Free 8×10 Shed Plans PDF: Permits, Zoning, Setbacks, and Building Codes
Before you cut a single board, confirm whether your shed needs a permit. Rules differ by city, county, and homeowners association. The free 8×10 shed plans PDF gives you a solid build, but only your local office can confirm what’s allowed on your lot.
When a Backyard Shed Needs a Permit
Many areas exempt small sheds from permits. Exemptions often depend on size, height, and use. Common thresholds include:
- Floor area: Many jurisdictions exempt sheds under 120 square feet. An 8×10 shed covers 80 square feet, so it often qualifies.
- Height: Some codes cap exempt sheds at 10 to 12 feet at the peak.
- Utilities: Adding electrical service, water, or a heater usually triggers a permit.
For example, a lean-to shed with no wiring may need no permit. The same shed with an outlet for power tools may require an electrical inspection.
Zoning, Setbacks, and Height Limits
Zoning controls where you can place a structure on your lot. Setbacks are the minimum distances between a building and your property lines. Typical rear and side setbacks for accessory buildings range from 3 to 10 feet, though this varies.
Check three things before choosing a spot:
- Setback distance from fences, lot lines, and the main house
- Maximum height allowed for accessory structures
- Lot coverage limits that cap how much of your yard buildings can occupy
Moreover, some towns require sheds to sit behind the front of the house. Others prohibit construction over easements or utility lines.
Adapting Plans for a Playhouse or Chicken Coop
Changing a shed’s use can change its legal requirements. Chicken coops often face limits on bird count and must sit a set distance from neighboring homes, commonly 25 to 50 feet. Playhouses may need safe windows and fall-safe surfaces if children use them regularly.
Coops also need extra ventilation and roost space. Therefore, you may need to modify the wall framing from the original plan. Confirm use-specific rules before adding windows, vents, or nesting boxes.
How to Check Codes and Submit Your Plans
Follow these steps to stay compliant:
- Contact your city or county building department.
- Ask whether an 80-square-foot shed requires a permit.
- Request the zoning map and setback requirements for your lot.
- Review HOA rules, which can be stricter than city codes.
- Prepare drawings showing dimensions, setbacks, foundation type, and materials.
- Submit the application and pay any required fees.
Tip: Include a site plan that marks the shed location, property lines, and nearby structures. Clear drawings often speed up approval. As a result, you avoid costly delays or forced relocations.
Frequently Asked Questions About Free 8×10 Shed Plans
Do I Need a Concrete Foundation for an 8×10 Shed?
Not always. Several foundation types work well, depending on your budget and soil.
- Gravel pad: Low cost and good drainage. Suitable for most backyard sheds.
- Pressure-treated skids: Raise the floor and allow airflow. Best for flat, well-drained ground.
- Concrete piers: Support the frame at corners and midpoints. Useful on slight slopes.
- Concrete slab: The most durable and pest-resistant option, but also the most expensive.
For example, a gravel pad with 4×4 skids costs far less than a slab. However, a slab offers the most stability on wet or uneven ground.
Tip: Confirm the base is level within about 1/2 inch across the footprint.
What Floor Load Can an 8×10 Shed Floor Support?
Most 8×10 shed floors are designed for a live load of about 40 to 50 pounds per square foot (psf). That covers normal storage, shelving, and foot traffic. Check the plan’s specifications for the exact rating.
Heavy items need extra planning:
- A push mower weighs roughly 60 to 100 pounds.
- A riding mower can exceed 300 pounds, concentrated on small tire contact areas.
- Stacked firewood or stone pavers add weight quickly.
Therefore, spread heavy loads across several joists. Using 2×6 joists at 16 inches on center with 3/4-inch tongue-and-groove plywood creates a much stronger floor than 2×4 framing.
Can I Build the Roof Trusses Myself or Should I Buy Them?
You can build them yourself. The right choice depends on your skill level and available time.
- Stick-framed rafters: Cut each rafter individually. Requires a speed square and basic math. Best for beginners.
- Site-built trusses: Assemble on the ground using a jig. Saves money but takes more time.
- Purchased trusses: Delivered ready to install. Costs more but reduces cutting errors.
For a simple gable roof, stick framing is usually practical. In addition, most plans list rafter spacing and ridge height.
Tip: Double-check your roof pitch before cutting. A small angle error multiplies across every rafter.
Which File Formats Are Included, and Do I Need Special Software?
Most free 8×10 shed plans PDF downloads open in any standard PDF reader. Adobe Acrobat Reader, Chrome, Edge, and Preview on Mac all work. You do not need paid software to view or print the plans.
Some packages also include editable CAD files, such as DWG or SKP. These require design software like AutoCAD or a free tool such as SketchUp Free. Check the download page to confirm which files you will receive.
Tip: Print the PDF at 100% scale. Measure the scale bar before cutting any lumber.
Are the Free Shed Plans Truly Free for Personal Use?
In most cases, yes. Free plans generally allow you to download, print, and build a shed on your own property at no charge. However, the license defines what else you may do.
- Usually allowed: Personal building and printing copies for your own use.
- Usually restricted: Selling the file, reposting it, or using it for commercial construction.
As a result, share the plans through the original source rather than forwarding copied files. Moreover, reading the license before you start prevents misunderstandings later.
Thank you for reading our guide about free 8×10 shed plans pdf.
Frequently Asked Questions
What does a free 8×10 shed plans PDF usually include?
A free 8×10 shed plans PDF typically bundles several documents into one file so you have what you need to start building. The package usually contains elevation drawings showing the front, side, and roof views with dimensions; framing plans with wall, floor, and roof layouts that show stud and joist spacing; a materials list with quantities for lumber, sheathing, fasteners, and roofing; a cut list that sizes board lengths for your saw; and step-by-step instructions that guide you from foundation to finishing. Before you buy lumber, read the entire file. Some free plans leave out details such as door framing or ventilation, so check for those early to avoid surprises mid-build.
Which file format should I choose: PDF, CAD, or printable sheets?
Free shed plans generally come in three formats, and each serves a different purpose. A PDF is best for reading on screen or printing, because its pages keep their layout and dimensions stay accurate. CAD files (DWG or DXF) are editable drawings, which suit anyone who wants to change the shed’s size, door position, or roof pitch. Printable sheets are full-size or tiled pages you can mark up on the job site. If you plan to follow the cut list exactly as written, a PDF is usually enough. If you want a 9-foot door instead of a standard one, you will need the editable CAD version. When printing, use 100% scale and check the scale bar, since “fit to page” settings can distort dimensions by several inches.
Can I use a free 8×10 shed plans PDF for resale or commercial projects?
Not necessarily. A free plan does not always mean unrestricted use, so read the license terms before you build or share anything. Most free plans allow you to build one shed on your own property for personal use. Selling finished sheds often requires permission or a paid license, and constructing multiple sheds for clients usually falls outside free terms. Redistributing the file, such as posting it on another website, is typically prohibited. For example, a homeowner building a backyard storage shed has no issue, while a contractor selling ten prefab sheds would need a proper license. Confirm the terms before using any free plan for business work.
When should I consider building an 8×12 shed instead of an 8×10?
Consider an 8×12 design if you need more room than an 8×10 provides. A larger footprint makes sense when you store a riding mower, lawn tractor, or other bulky equipment, when you want workbench space alongside storage, or when local rules allow larger structures without extra permits. An 8×12 shed adds about 20 percent more floor space, but it also requires more lumber, a larger foundation, and stronger floor joists. Before you extend the length, check the load ratings in your plan to confirm that the floor framing can handle the added size and whatever you intend to store inside.