
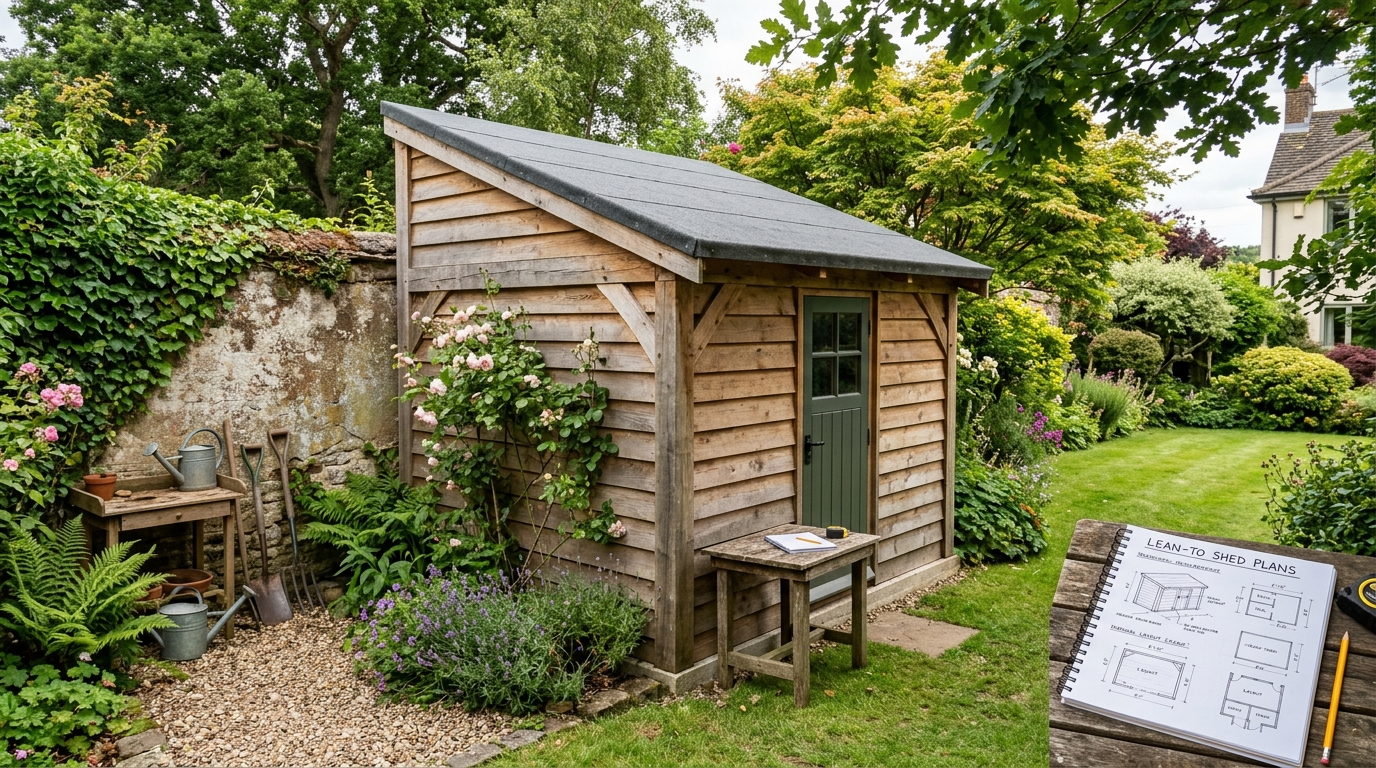
Choosing the right lean to shed plans can save you weeks of guesswork and hundreds of dollars in materials. A lean-to shed attaches to an existing wall, fence, or house, so it needs careful planning for structural support, roof drainage, and local code compliance. This guide walks you through sizing, materials, costs, permits, and a beginner-friendly build sequence, so you can start with confidence and finish with a shed that lasts.
Lean to Shed Plans: Sizes and Layouts to Consider
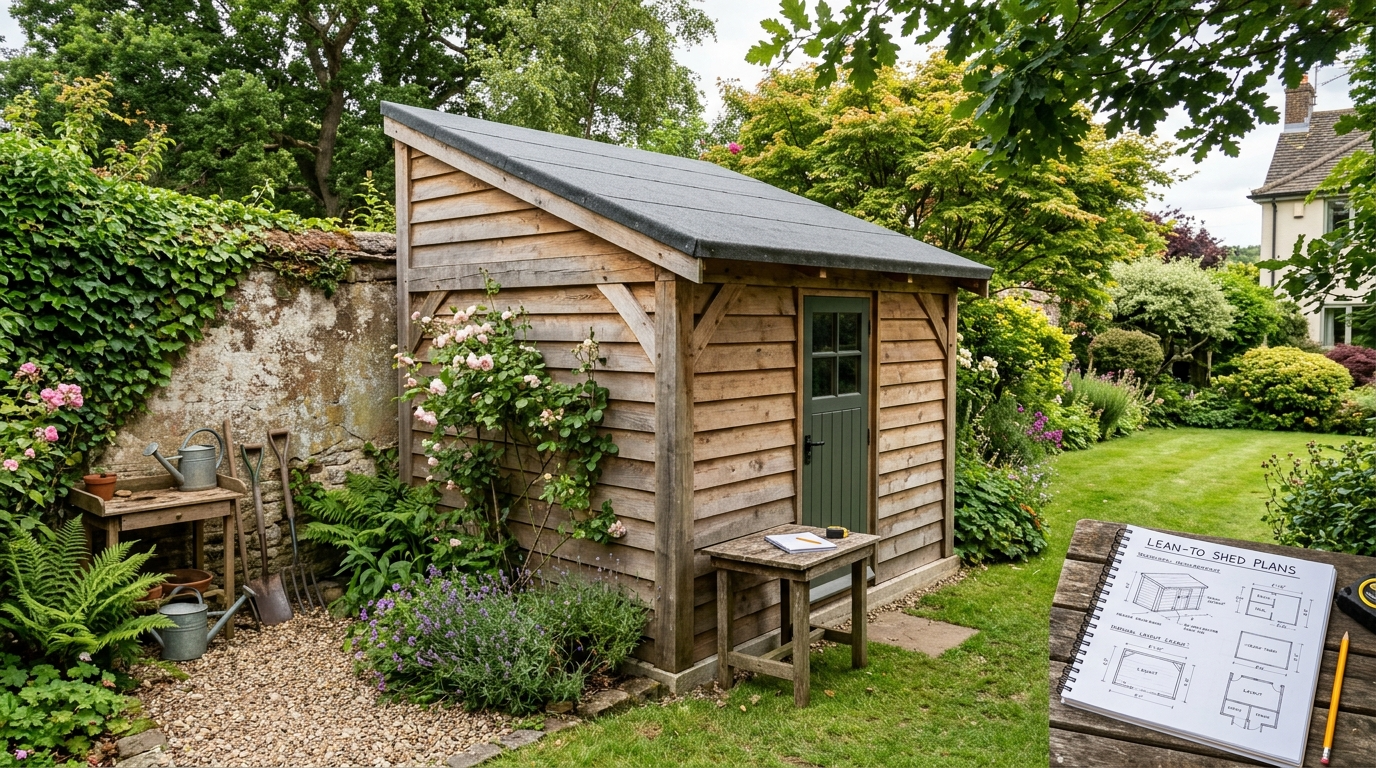
Choosing the right size and layout is the first step in any project. Good lean to shed plans balance your storage needs, your available yard space, and the wall or fence the shed will attach to.
Common Lean-To Shed Sizes
Most homeowners choose from a few standard footprints:
- 4×8 feet (32 sq ft): Holds garden tools, a small mower, and bagged supplies. It fits well in narrow side yards.
- 6×8 feet (48 sq ft): A popular middle option. It stores bikes, a wheelbarrow, and seasonal items.
- 8×10 feet (80 sq ft): Fits a riding mower, a workbench, and shelving.
- 12×20 feet (240 sq ft): Large enough for a vehicle, hobby equipment, or a small workshop. It requires a stronger foundation and closer permit review.
Choosing the Right Size
Start with a simple inventory. Measure every item you plan to store. Then add 20 to 30 percent extra space for walkways and access.
Yard space matters as well:
- Check setback rules from property lines.
- Leave room to open the door fully.
- Keep at least 3 feet of clearance for maintenance.
For example, a family storing a mower, two bikes, and hand tools often picks an 8×10 layout. A homeowner with only garden supplies may need just a 4×8.
Single-Slope Versus Multi-Bay Layouts
A single-slope design has one roof sloping from a high back wall down to a lower front wall. It is simple, affordable, and quick to build. It works best for basic storage.
A multi-bay layout divides the interior into sections, usually with a partition wall. It suits mixed use. For instance, one bay might hold lawn equipment, another a workbench, and a third firewood.
Multi-bay designs cost more and require extra framing. Moreover, they need careful door planning. Therefore, choose them only when you truly need separate zones.
Sample Elevation and Floor Plan Overview
A typical 8×10 lean-to plan includes three views:
- Floor plan: A rectangle with the back wall attached to a house or fence. The door sits centered on the front or side wall.
- Front elevation: The front wall stands about 7 feet tall, while the back wall reaches about 9 feet.
- Side elevation: This view shows the roof slope and the overall height profile.
Tip: Sketch your plan on graph paper before buying materials. A scaled drawing catches sizing errors early and reduces waste.
Materials List and Cost Estimates for Each Shed Size
Lumber, Sheet Goods, and Fasteners by Size
Material needs grow with the footprint. Most lean to shed plans use the same framework: a ledger board, front and back posts, rafters, and roof sheathing. Only the quantities change.
- 4×6 shed: About 8 pressure-treated 2x4s, 6 rafters, 2 sheets of plywood, and 1 box of exterior screws.
- 6×8 shed: About 14 2x4s, 7 rafters, 4 sheets of plywood, and 2 boxes of screws.
- 8×10 shed: About 22 2x4s, 10 rafters, 6 sheets of plywood, and 3 boxes of screws plus joist hangers.
Tip: Add 10 percent extra lumber to cover warped boards and miscuts.
Cut List Example for a 6×8 Lean-To Frame
This example assumes an 8-foot wall length, a 6-foot projection, and an 8-foot back height that slopes down to 6 feet in front.
- Ledger board: 1 piece, 2×6 at 96 inches, lagged to the existing wall
- Front posts: 2 pieces, 2×4 at 72 inches
- Back posts: 2 pieces, 2×4 at 96 inches
- Top plates: 2 pieces, 2×4 at 96 inches
- Rafters: 7 pieces, 2×6 at about 88 inches, spaced 16 inches on center
Always confirm measurements against your own site before cutting.
Line-Item Budget Ranges for a 6×8 Shed
Prices vary by region and season. Use these ranges as a starting point:
| Category | Typical Range |
|---|---|
| Lumber | $400–$900 |
| Foundation (gravel pad or concrete piers) | $150–$600 |
| Foundation (concrete slab) | $800–$1,600 |
| Roofing (metal panels or shingles with underlayment) | $250–$600 |
| Door and hardware | $150–$400 |
For a gravel-and-pier build, expect a total of roughly $1,200 to $3,000.
Hidden Costs and Contingency Planning
Many budgets fail because of small expenses that buyers overlook. Common hidden costs include:
- Permit fees: Often $50 to $300, depending on your local authority
- Delivery: Lumber and concrete delivery can add $50 to $150
- Tool rentals: Post-hole diggers or saws may cost $50 to $200 per day
- Connectors and flashing: Joist hangers, Z-flashing, and sealant add up quickly
Best practice: Set aside 10 to 15 percent of your total budget as a contingency fund. For example, a $2,000 project should include a $200 to $300 reserve. As a result, unexpected repairs will not stall your build.
Attaching a Lean to Shed to an Existing Wall or Fence
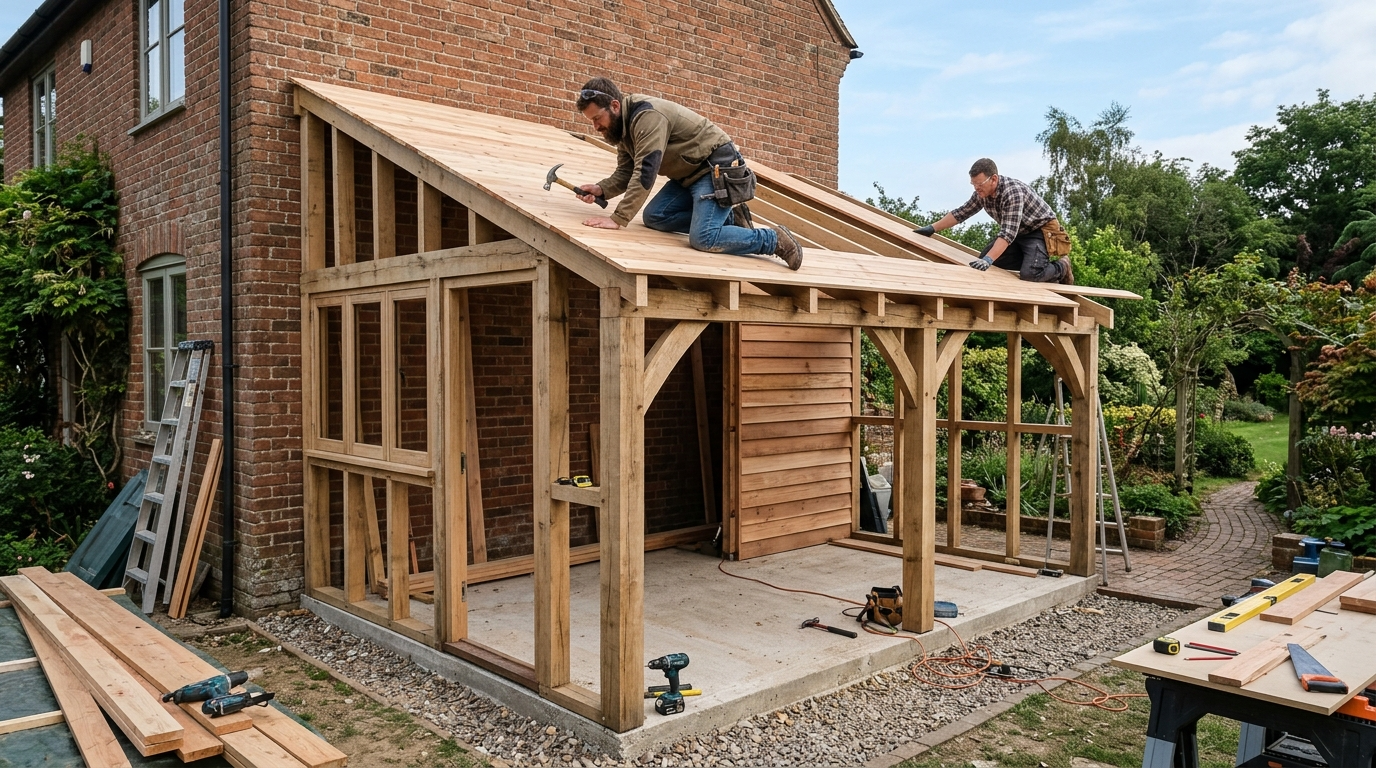
Attaching a lean to shed to an existing structure saves framing time and gives the roof natural support. However, the connection carries real weight, so it must be done correctly. Many quality lean to shed plans treat this connection as the most important step.
Installing the Ledger Board
The ledger board is the horizontal beam that bolts to the host wall. It carries the roof load and transfers it to the house, garage, or fence.
- Lumber: Use pressure-treated lumber, typically a 2×6 or 2×8, depending on span.
- Height: Mark the ledger height before drilling, and check it with a level.
- Fasteners: Use 1/2-inch lag screws or through-bolts, never nails.
- Spacing: Space fasteners about 16 inches apart, staggered top and bottom.
For example, a 12-foot ledger typically needs about nine fasteners per row. Therefore, always confirm exact spacing with your local building code, since heavy snow regions often require closer spacing.
Flashing and Waterproofing
Water is the biggest threat at the roof-to-wall junction. Without proper flashing, moisture seeps behind the ledger and causes rot within a few years.
- Remove siding or trim above the ledger line.
- Install metal flashing over the ledger, tucked behind the house wrap.
- Overlap the flashing so water sheds outward, like shingles on a roof.
- Seal all lag holes with a quality exterior sealant.
- Reinstall siding so it overlaps the flashing.
Tip: In rainy climates, add a self-adhered membrane under the flashing for extra protection.
Load Considerations by Structure Type
Each host structure handles loads differently. As a result, you should evaluate each option before you begin.
- House wall: Usually the strongest choice. Confirm the fasteners reach the wall framing, not just the siding.
- Garage wall: Similar to a house wall. Block or masonry walls need anchors rated for masonry.
- Fence: Generally unsuitable for a full shed roof. Fences lack the bearing strength and lateral support needed.
For a fence, build a freestanding frame with its own posts. Many lean to shed plans include this option for exactly this reason.
Common Attachment Mistakes to Avoid
Several errors cause most attachment failures:
- Nailing the ledger: Nails pull out under snow or wind loads. Always use lag screws or bolts.
- Fastening only to siding: Siding cannot carry structural loads. Fasteners must reach framing.
- Skipping flashing: Leaks lead to hidden rot inside the wall.
- Installing an uneven ledger: A sloped ledger sends water back toward the wall.
- Ignoring utilities: Check for wiring and plumbing before drilling.
In addition, schedule a structural inspection before final attachment, especially in areas with heavy snowfall. Moreover, a careful check before each drill hole prevents expensive repairs later.
Roof Pitch, Drainage, and Snow Load Considerations for Lean to Shed Plans
Roof pitch, drainage, and snow load work together to protect a lean-to shed for decades. Getting these details right early prevents leaks, sagging rafters, and rot. Many lean to shed plans fail on these points, so review them before you cut any lumber.
Choosing the Right Roof Slope
A lean-to roof slopes in one direction, so water and snow must run off quickly. The slope, or pitch, controls how well it does this.
- Minimum pitch for asphalt shingles: Usually 2:12 (2 inches of rise per 12 inches of run).
- Minimum pitch for metal panels: About 1:12, though 2:12 or higher performs better.
- Typical lean-to pitch: 3:12 to 4:12 works well for most backyard sheds.
For example, if the shed attaches to a wall 8 feet high and the front sits 6 feet high over an 8-foot depth, the roof drops 2 feet. That creates a 3:12 pitch. This slope sheds rain well and keeps the structure simple.
Gutters, Downspouts, and Water Control
Water running off a lean-to can soak the wall it attaches to. Therefore, direct it away from the structure. For additional guidance on managing water around your home, see the U.S. Department of Energy’s Energy Saver guide.
- Install a gutter along the low (front) edge of the roof.
- Slope the gutter about 1/4 inch per 10 feet toward the downspout.
- Space downspouts every 30 to 40 feet, or closer on wide roofs.
- Extend downspout outlets 4 to 6 feet from the foundation.
- Grade the soil so it slopes about 6 inches over the first 10 feet away from the shed.
Flashing at the Wall Junction
The joint where the roof meets the existing wall needs special care. In addition to a continuous flashing strip, install step flashing along any siding. Seal the top edge with exterior-grade caulk. This prevents water from wicking behind the roof and into the wall.
Snow Load Ratings by Climate Zone
Snow adds weight that rafters must carry. Ground snow loads are measured in pounds per square foot (psf), and local building departments publish these values.
- Light snow zones (under 20 psf): Standard 2×4 rafters at 16 inches on center often suffice for short spans.
- Moderate zones (20 to 40 psf): Upgrade to 2×6 rafters or add blocking.
- Heavy snow zones (over 40 psf): Consult a structural engineer, and consider deeper rafters or additional posts.
As a result, a shed in a mild climate may cost far less to frame than one in a mountain region. Steeper pitches also help snow slide off, reducing the load over time. However, steep roofs in windy areas need extra anchoring.
Weatherproofing for Long-Term Durability
Good weatherproofing extends the life of your shed by many years. Focus on these key steps:
- Apply ice and water shield along the eave and wall junction.
- Use pressure-treated lumber for the ledger board and any wood touching soil or concrete.
- Choose galvanized or stainless steel fasteners to resist rust.
- Add soffit and ridge vents when the roof has a sealed underside, which reduces condensation.
- Inspect annually for loose shingles, cracked caulk, and clogged gutters.
Consequently, a little maintenance each spring prevents costly repairs later.
Lean to Shed Plans for Permits, Zoning, and Building Codes
Checking Setbacks, Height, and the Permit Threshold
Before you buy or follow any lean to shed plans, check your local rules. Most towns regulate accessory structures in three ways:
- Setbacks: The minimum distance from property lines, often 3 to 5 feet for small sheds.
- Height: The maximum wall or roof height, commonly 10 to 15 feet.
- Size threshold: Many jurisdictions exempt sheds under 120 square feet. Others use 200 square feet, based on the International Residential Code (IRC).
Measure carefully. For example, a 10×12 lean to covers 120 square feet. However, some cities count roof overhangs, so the total footprint may exceed the limit. Include eaves in your calculations.
Verifying Zoning and Local Building Codes
Follow these steps to confirm what applies to your property:
- Call the building department and ask for their accessory structure rules.
- Request a zoning map that shows your parcel, easements, and setbacks.
- Check HOA covenants, which can be stricter than city requirements.
- Confirm the code edition. Many areas adopt the IRC or International Building Code with local amendments.
- Ask how attachment affects classification. A lean to attached to a house often triggers full residential review.
Tip: Record the name, date, and answer of every official you speak with.
State and Regional Permit Examples
Requirements vary widely across regions. Consider these scenarios:
- A rural county may waive permits for sheds under 200 square feet but require a 10-foot setback from a road.
- A coastal city may require wind-rated fasteners and engineered drawings, regardless of size.
- A heavy-snow region may demand roof load calculations, even for small sheds.
Because rules change often, verify them locally rather than relying on general guidance.
What Permit Reviewers Expect in a Plan Set
Reviewers want clear, complete drawings. A typical submission includes:
- Site plan showing the shed, the house, property lines, and distances
- Elevation drawings with wall height and roof pitch
- Foundation details for footings, a slab, or skids
- Framing plan with stud, rafter, and joist spacing
- Material and fastener schedule
- Load information for wind and snow
Best practice: Choose lean to shed plans that list the code edition they follow. In some areas, a licensed professional must stamp the drawings. Therefore, confirm this before you submit.
Step-by-Step Lean to Shed Plans Build Guide: Foundation to Roof
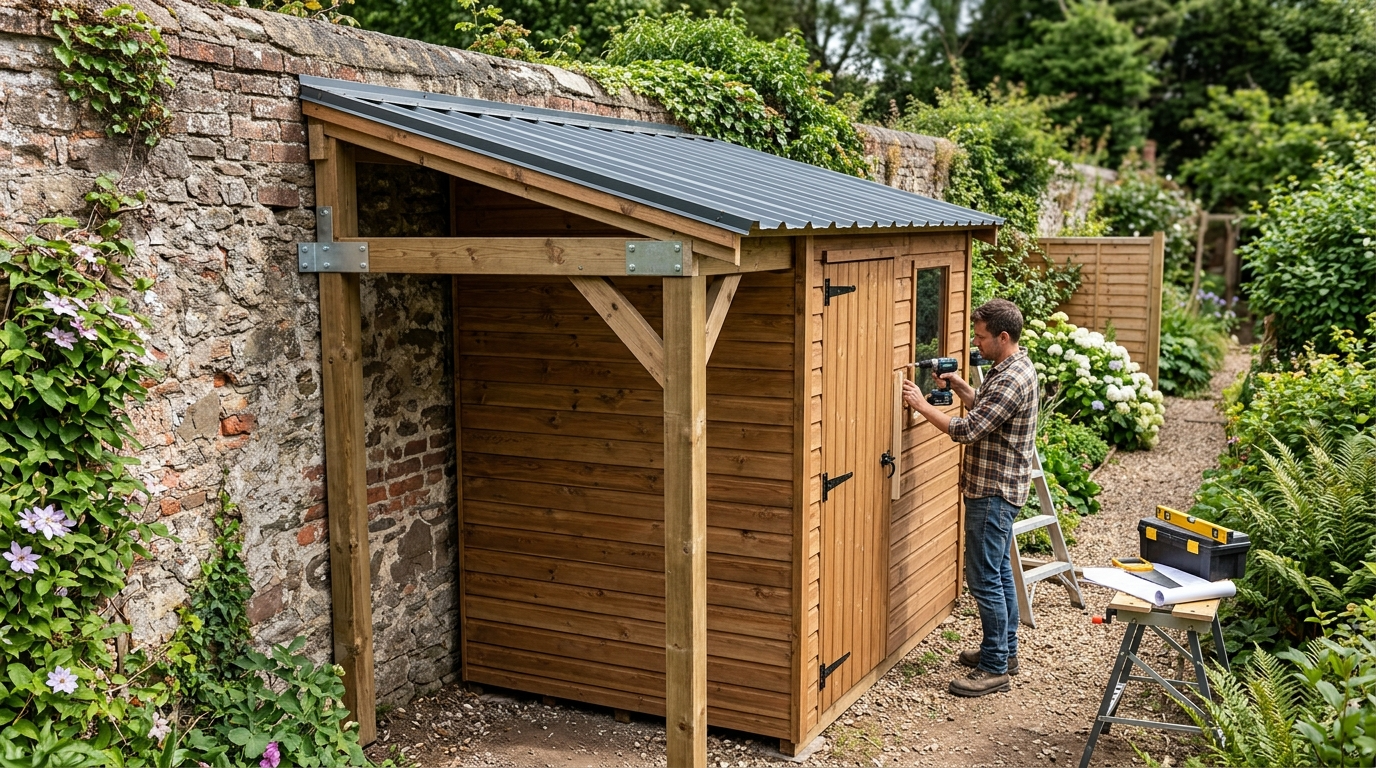
Before cutting any lumber, follow a clear build sequence. Strong lean to shed plans always start with the ground. A solid base prevents sagging, rot, and sticking doors later.
Site Preparation and Foundation Options
Choose a level spot with good drainage. Keep the shed at least 3 feet from property lines and other structures. Clear grass, roots, and debris before you begin.
Common foundation options include:
- Concrete piers: Best for sheds up to 8×12 feet. Place piers under each corner and every 4 feet along the long walls.
- Gravel pad: Spread 4 inches of compacted gravel. It drains well and costs less than concrete.
- Concrete slab: The most durable choice. Pour 4 inches of concrete over wire mesh.
Tip: Check the base with a 4-foot level and a string line. Even a half-inch difference can make doors bind.
Floor Framing and Wall Construction
Build the floor frame first. Use pressure-treated 2×6 joists spaced 16 inches on center. Attach a rim joist around the perimeter, then fasten exterior-grade plywood subflooring.
Next, frame the walls in this order:
- Build the back wall, which is the tallest side.
- Build the front wall, which is the shortest side.
- Frame the two side walls, angling the top plate to match the roof pitch.
- Stand each wall and brace it plumb.
- Fasten the walls to the floor and to each other at the corners.
For example, an 8×10 lean-to might use an 8-foot back wall and a 6-foot front wall. This creates a roof slope that sheds rain away from the building.
Roof Installation and Door Hanging
Install rafters from the back wall to the front plate. Space them 24 inches apart. Next, add roof sheathing, then underlayment, then your chosen roofing material.
Extend the eaves about 6 inches past the walls. This overhang directs water away from the siding. Moreover, it protects the wall from constant moisture.
Frame the door opening with a header sized for the span. Hang the door on hinges, then shim the frame until the door swings freely.
Best practice: Test the door fit before installing trim. Check for even gaps around all edges.
Estimated Build Time and Skill Level
Beginners typically need two to four weekends for a small lean-to. Working with a partner speeds up lifting walls and rafters. It also improves safety.
The skill level is moderate. You need basic tools, including a circular saw, drill, level, framing square, and tape measure. Therefore, a first-time builder should plan extra time for measuring and squaring each section.
How to Build a Lean to Shed for Beginners: Free PDF or Premium Plans
Choosing between free and paid lean to shed plans can be confusing for first-time builders. The right choice depends on your skill level, budget, and project goals.
What Free PDF Plans Include and Where They Fall Short
Free PDF plans usually offer a basic overview of the structure. Most include:
- A simple side-view drawing with rough dimensions
- A general materials list
- A basic framing outline
However, free plans often leave out important details. Many skip footing depth, rafter spacing for your snow zone, or fastener schedules. For example, a free plan might say “attach rafters to the wall” without naming the ledger board size or lag screw spacing.
Tip: Treat free plans as a starting point. Verify load requirements with your local building department before cutting any lumber.
Premium Plan Features Worth Considering
Paid lean to shed plans typically include more complete documentation. Common features include:
- Detailed drawings: Front, side, and cross-section views with exact measurements
- Cut lists: Pre-calculated lumber lengths that reduce waste
- Email support: Direct answers to build questions, often within a few days
- Multiple file formats: PDF for printing, plus CAD or SketchUp files for editing
In addition, a premium cut list shows exactly how many rafters to buy. This prevents costly trips back to the store. Email support also helps when your wall studs do not line up with the drawing.
Lean-To Shed Kits Versus Building From Scratch
Kits ship pre-cut components with step-by-step instructions. They suit beginners who want less measuring. However, kits cost more and limit design changes.
Building from scratch with plans offers flexibility and usually lowers material costs. Consequently, it demands more planning, tools, and framing skill.
- Kit: Faster assembly, fixed size, higher upfront cost
- Scratch build: Custom size, lower material cost, more time required
As a rule, beginners attaching a shed to an existing wall often benefit from a kit. Builders comfortable with framing may prefer custom plans.
Licensing, Usage Rights, and Refund Checklist
Before buying any plan, review the terms carefully. Use this checklist:
- Personal use license: Confirm you can build one shed for your own property.
- Commercial rights: Check whether you can sell built sheds or use the plans for clients.
- Refund window: Look for a clear period, such as 30 days.
- File access: Confirm download formats and whether access is lifetime.
- Update policy: Check whether revised plans are included at no extra cost.
Best practice: Save your receipt and license terms before starting construction. Therefore, you can resolve any disputes quickly.
Frequently Asked Questions About Lean-to Shed Kits and Plans
Do I Need a Permit for a 12×20 Lean to Shed Plans Free Build?
Most areas require a permit for a 12×20 structure. That size covers 240 square feet, which exceeds the limit many jurisdictions set for exempt sheds. Many local codes exempt sheds under 120 square feet, so a 12×20 usually falls outside that exemption.
Rules vary widely, so check before you start. Contact your local building department and ask about:
- Setback distances from property lines
- Maximum height limits
- Foundation requirements
- Whether an attached lean-to needs separate approval
Tip: Ask which code section covers accessory structures. Keep a copy of approved plans on site during construction.
Can I Modify a Lean to Shed Plans PDF Design?
Yes, you can modify most lean to shed plans. However, changes must stay within safe structural limits. For example, widening the front wall from 12 feet to 14 feet changes rafter spacing and header sizes.
Low-risk changes include:
- Adjusting door and window placement
- Switching siding or roofing materials
- Adding interior shelving
Higher-risk changes include:
- Increasing the span without larger lumber
- Moving or removing load-bearing posts
- Changing the roof pitch significantly
For major revisions, consult a structural engineer or experienced builder. A modified design may also need approval if you pull a permit.
How Do I Weatherproof a Lean-to Shed in a Wet Climate?
Wet climates demand extra moisture protection. Start with a raised foundation to keep water away from the framing. Use pressure-treated lumber for any wood touching concrete or soil.
Follow these steps for better protection:
- Install ice and water shield under the roofing.
- Add drip edge along all eaves.
- Apply house wrap or a moisture barrier behind siding.
- Seal seams, joints, and fastener penetrations.
- Install gutters that direct runoff away from the foundation.
Ventilation also prevents condensation. Add soffit and ridge vents, or at least two gable vents. As a result, moisture escapes before it damages the framing.
How Do I Choose the Right Plan for My Yard?
Measure your yard before you buy any plan. Record the available width, depth, and sun exposure. Also note where the shed will attach to your house or fence.
Consider these factors:
- Space: Leave at least 3 feet of clearance for access and maintenance.
- Roof direction: Slope the roof away from the house or toward a drainage area.
- Sun exposure: South-facing walls warm up faster, while shaded walls keep stored items cooler.
- Door access: Confirm that you can move mowers or equipment through the door.
For example, a narrow side yard may suit an 8×12 design better than a 12×20 layout. Compare free and premium options carefully. Free plans often lack detailed material lists, whereas premium plans usually include engineering notes and permit-ready drawings.
Thank you for reading our guide about lean to shed plans.
Frequently Asked Questions
What size should my lean to shed plans call for?
Start by listing every item you plan to store, then measure each one. Add 20 to 30 percent extra space for walkways and door access. Common footprints include 4×8 feet for garden tools and small supplies, 6×8 feet for bikes and a wheelbarrow, and 8×10 feet for a riding mower and a workbench. A 12×20 foot shed suits vehicles or a small workshop, but it needs a stronger foundation and closer permit review. Also check setback rules from property lines, leave room to open the door fully, and keep at least 3 feet of clearance for maintenance. Sketching the layout on graph paper before buying materials helps you catch sizing errors early.
How do I attach a lean to shed to an existing wall or fence?
A lean-to shed typically attaches through a ledger board, usually a 2×6 fastened to the existing wall with lag screws or bolts spaced according to your plan. Before fastening, confirm that the wall is structurally sound and can carry the added roof load. Install flashing above the ledger so water drains away from the joint rather than soaking into the wall. Attaching to a fence is different, since most fences are not built to support a roof. In that case, install independent posts set in concrete and frame the shed to them, leaving the fence as a side wall only. Always verify fastener sizes and spacing against your plan and local code requirements.
Do I need a permit to build lean to shed plans?
Many areas require a permit, especially for larger sheds, sheds with a permanent foundation, or structures that include electrical wiring. Smaller sheds under a size threshold may be exempt, but rules vary widely by city, county, and homeowners association. Check zoning requirements for setbacks from property lines, maximum height, and allowed building coverage on your lot. Because a lean-to attaches to a house or fence, the local building department may also review how the structure connects to the existing wall. Contact your local office before you buy materials. Skipping a required permit can lead to fines, forced removal, or problems when you sell the property.
What roof pitch and drainage do lean to shed plans need?
Most lean-to designs use a single-slope roof that runs from a higher back wall down to a lower front wall. This slope moves rainwater and melting snow off the roof quickly. A pitch that is too flat can allow ponding and leaks, while an overly steep pitch may be unnecessary for light use. Install a gutter or drip edge along the low edge, and direct downspouts away from the foundation and the existing wall. Your local snow load requirements affect rafter size and spacing, so heavy snow regions need stronger framing. Choose roofing material that suits your climate, and apply a sealed flashing detail where the roof meets the attached wall to prevent water intrusion.