
Designing your own shed sounds harder than it is. You do not need drafting software or an engineering degree. You need a clear list of what you will store, a measured spot in the yard, and a few decisions made in the right order. This guide walks you through those decisions the way an experienced builder would walk a friend through a first project.
Most shed plans and kits are built around someone else’s needs. A prefab kit might give you a 10×12 box with one door and no room for a riding mower. A generic plan might ignore your slope, your snow load, or the side of the yard where water pools. When you design the shed yourself, you control footprint, roof type, door swing, ventilation, and drainage from the start.
You will size the building, sketch the layout to scale, choose a roof and door arrangement, check permits and site conditions, and then build a short specification you can take to the lumberyard. Along the way you will get a planning worksheet and a final checklist. Buying a ready-made plan is an option at the end, not a requirement.
What Is Design Your Own Shed? (Definition, Options, and Core Steps)
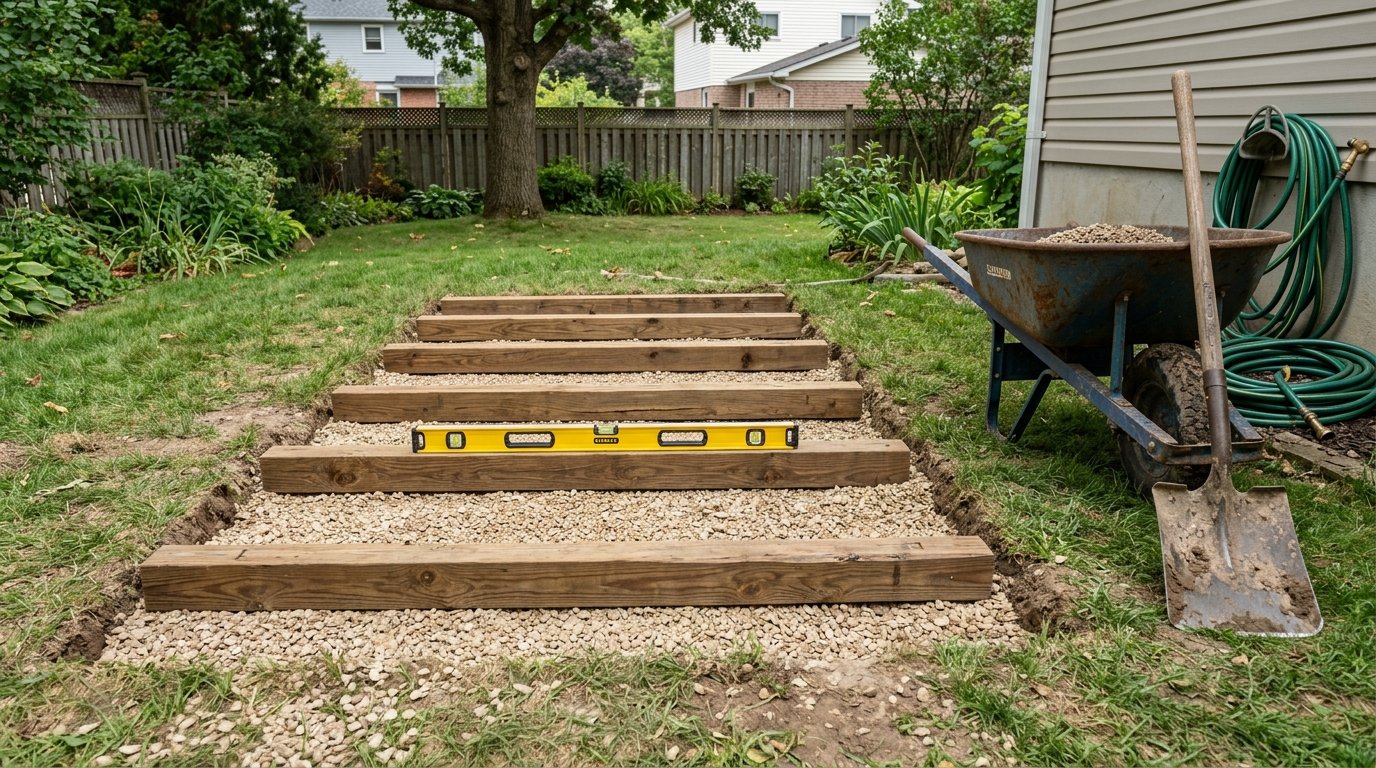
Designing your own shed means you choose its size, shape, layout, and materials. You then turn those decisions into drawings and a materials list. Think of the drawing as the instruction sheet for your build.
Three Common Paths to a Shed
Not every builder needs the same starting point. Each option suits a different skill level and site.
| Option | What you get | Best for | Main limit |
|---|---|---|---|
| Prefab kit | Pre-cut panels, hardware, and instructions | Quick setup on a level site | Fixed sizes and layouts |
| Purchased plan | Drawings and a cut list for a set design | Builders who want a tested design | May not fit your yard or needs |
| Custom design | Your own footprint, roof, door, and framing | Specific storage, slopes, or tight spaces | Requires planning time and basic drafting |
Why Choose a Custom Design?
A custom design takes more time up front. However, it pays off when a standard size is too small, too large, or placed in the wrong spot.
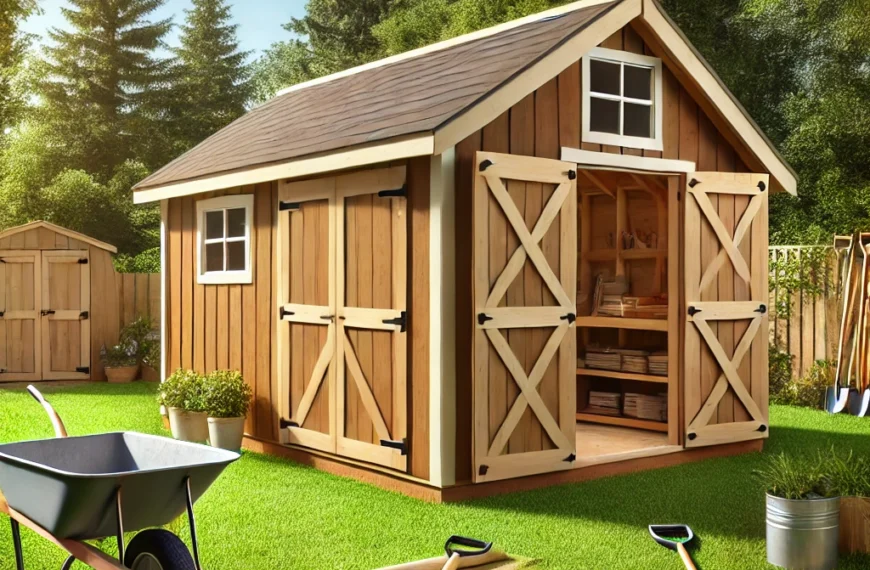
For example, you can combine a 36-inch walk-in door with a 60-inch double door for a riding mower. You can also add a workbench wall or lower the roof on the side that faces a fence.
Tip: If you are unsure whether you need a custom design, measure your items first. List the largest objects you plan to store, then compare them with standard shed sizes.
The Six Core Steps
Every design follows the same basic sequence, whatever path you choose:
- Define the job. List what the shed will hold and how you will use it.
- Set the size. Choose a footprint that fits your items and leaves room to move them.
- Sketch the layout. Draw the floor plan to scale on graph paper or a printed grid.
- Choose the roof, doors, and windows. Match them to your site, the local weather, and how you will enter.
- Check the rules and the site. Confirm permits, setbacks, drainage, and foundation options.
- Write the specification. Create a materials list, a cut list, and a build order.
Keep the First Draft Simple
Your first design does not need to be perfect. Instead, focus on getting the dimensions right. Revisions are easy on paper and costly once lumber is cut.
You can complete all six steps with a pencil, a tape measure, and a clear afternoon. The sections that follow explain each step in detail.
How to Design Your Own Shed: Size, Layout, and Storage Needs
Step 1: Inventory What You Will Store
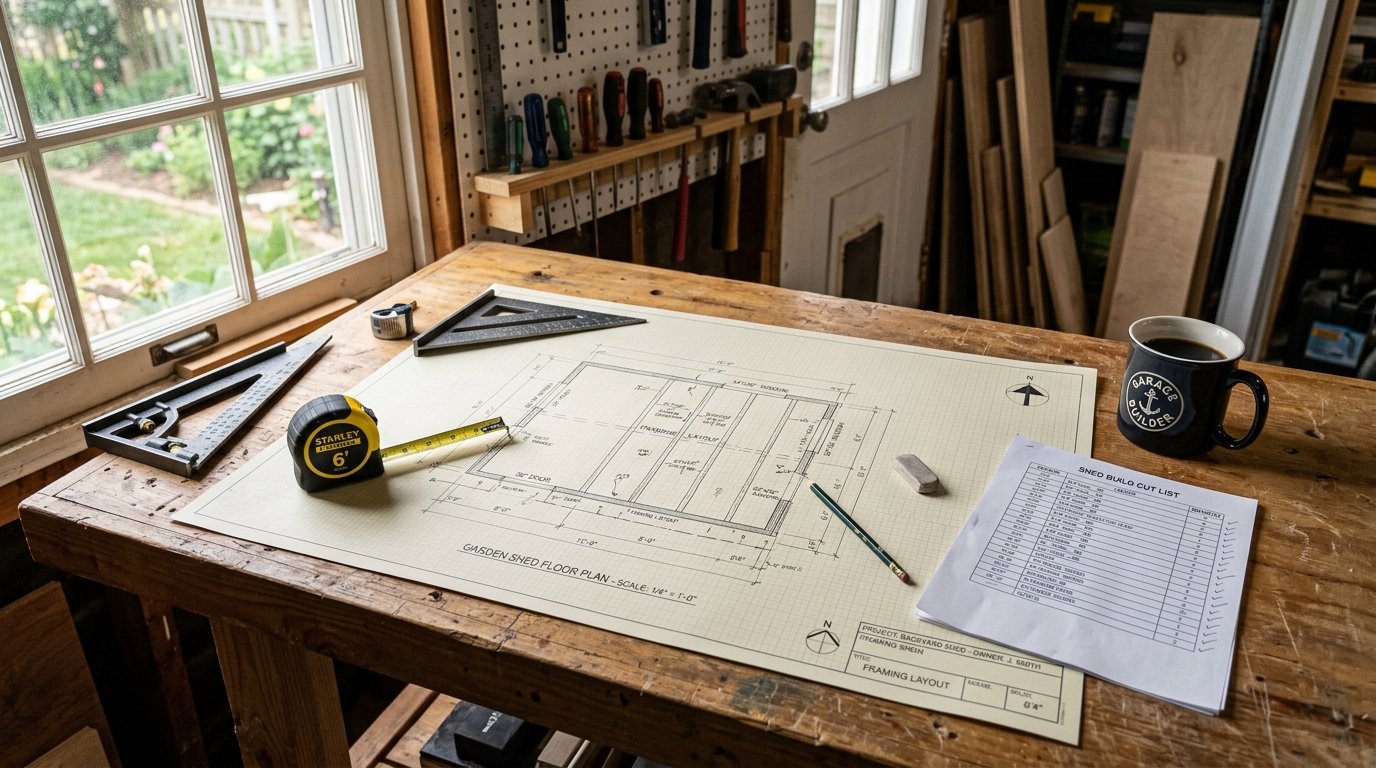
Walk through the garage, side yard, and basement. Write down every item headed for the shed. Record each item’s length, width, and height.
Include things you rarely use. They will stay in the shed longer than you expect. Then add clearance. For example, a lawn mower needs about 3 feet to roll in and out. Plan at least 30 to 36 inches of open aisle along the main wall.
Step 2: Pick a Starting Footprint
Common sizes make good starting points when you design your own shed. Compare each option against your inventory:
- 6×8 ft (48 sq ft): Bikes and garden tools. Tight for a mower.
- 8×10 ft (80 sq ft): Mower, tools, and shelving. A common balance of size and cost.
- 10×12 ft (120 sq ft): Mower, workbench, and seasonal gear, with room for an aisle.
- 12×16 ft (192 sq ft): Workshop or large equipment. Needs stronger floor framing and more permit review.
If you fall between two sizes, choose the larger one. Adding 2 feet in length often costs less than outgrowing the shed in a year.
Step 3: Sketch the Layout to Scale
Use graph paper at 1/4 inch per foot. Draw the outline first. Then place the big items: the mower, the workbench, and any shelving along a wall.
Mark the door opening and draw its swing. Shade the swing area. Nothing should block it. A bench in the swing path becomes a daily annoyance.
Step 4: Plan the Wall Framing
Most backyard sheds use 2×4 wall framing spaced 16 inches on center. Floors often use 2×6 joists, depending on span and load. Check span tables for your lumber species and grade before committing.
Mark every stud location on your sketch. This shows where shelves and hooks can anchor securely.
Wall height matters too. An 8-foot wall gives comfortable headroom and space for wall shelves. However, a 7-foot wall lowers material costs, and it can feel cramped for taller items.
Figure: Wall framing at 16 inches on center, with evenly spaced vertical studs marked along each wall.
Step 5: Write Down the Storage Plan
Divide the shed into zones. For each zone, list what goes there and how often you reach for it.
- Near the door: Daily-use items like the mower and rake.
- High or toward the back: Seasonal gear, such as holiday decor or snow equipment.
- One wall kept clear: Leaves room for a bench later.
As a result, the layout matches how you actually use the space. Use a planning worksheet to record these measurements next to your sketch. Keep the sketch, because you will refine it after deciding on the roof, door, and site.
Choosing a Roof, Door, and Window Layout for Your Custom Shed
Your roof, door, and windows shape how your shed looks, how it sheds water, and how you move through it. Make these choices after you set the footprint. When you design your own shed, each feature should support the size and purpose you already chose.
Choosing the Right Roof Type
A gable roof has two sloping sides that meet at a ridge. It frames simply, sheds water well, and offers good headroom. The gable ends need extra framing and vents.
A shed (lean-to) roof uses one sloping plane. It is easy to frame and costs less, which suits tight yards. However, the low wall gives you less headroom.
Saltbox and gambrel roofs add character and storage space. They also require more complex rafter cuts. For most builders, a gable or single-slope roof is the practical choice.
Pitch matters. A 6:12 pitch rises 6 inches for every 12 inches of horizontal run. It sheds rain and snow well and leaves usable headroom. A 4:12 pitch is easier to build, but it can hold more snow in cold climates. Plan a 12-inch eave overhang to keep water off the walls.
Sizing the Door for Your Equipment
A standard single door is 36 inches wide. Aim for a clear opening of at least 32 inches for most mowers and wheelbarrows. For a riding mower or large garden cart, consider a 60-inch double door.
Next, decide the swing:
- Outswing keeps the floor clear and is simpler to build. It faces weather, so it needs a solid sill and drip edge.
- Inswing shields the door from wind but uses floor space. Confirm it does not hit a bench or shelf.
Tip: Cut a paper door template at full scale and tape it to your floor sketch. Open it and walk the path. If you cannot reach the mower handle with the door fully open, widen the door or move the shelf.
Placing Windows and Vents
A 24×36-inch window is a common starting size. Place it on a side wall so it does not compete with the door swing. A fixed window costs less. A hopper or casement window adds airflow when you need it.
Sheds trap moisture, so ventilation matters. For example, a continuous ridge vent works well on gable roofs. Soffit vents under the eaves and louvered gable vents add cross-ventilation. On a shed roof, place vents high on the low wall and low on the high wall to create airflow.
Before you shop, complete the planning worksheet. It helps you confirm door width, window count, and vent needs. If you want a tested layout, the shed plans and kits category can save drafting time once your specs are clear.
A Simple Design Rule
If the door, roof, and window choices conflict on your sketch, change one of them. The simplest layouts usually work best, and they are usually the easiest to build.
Permits, Site Prep, and Foundation Decisions Before You Draw
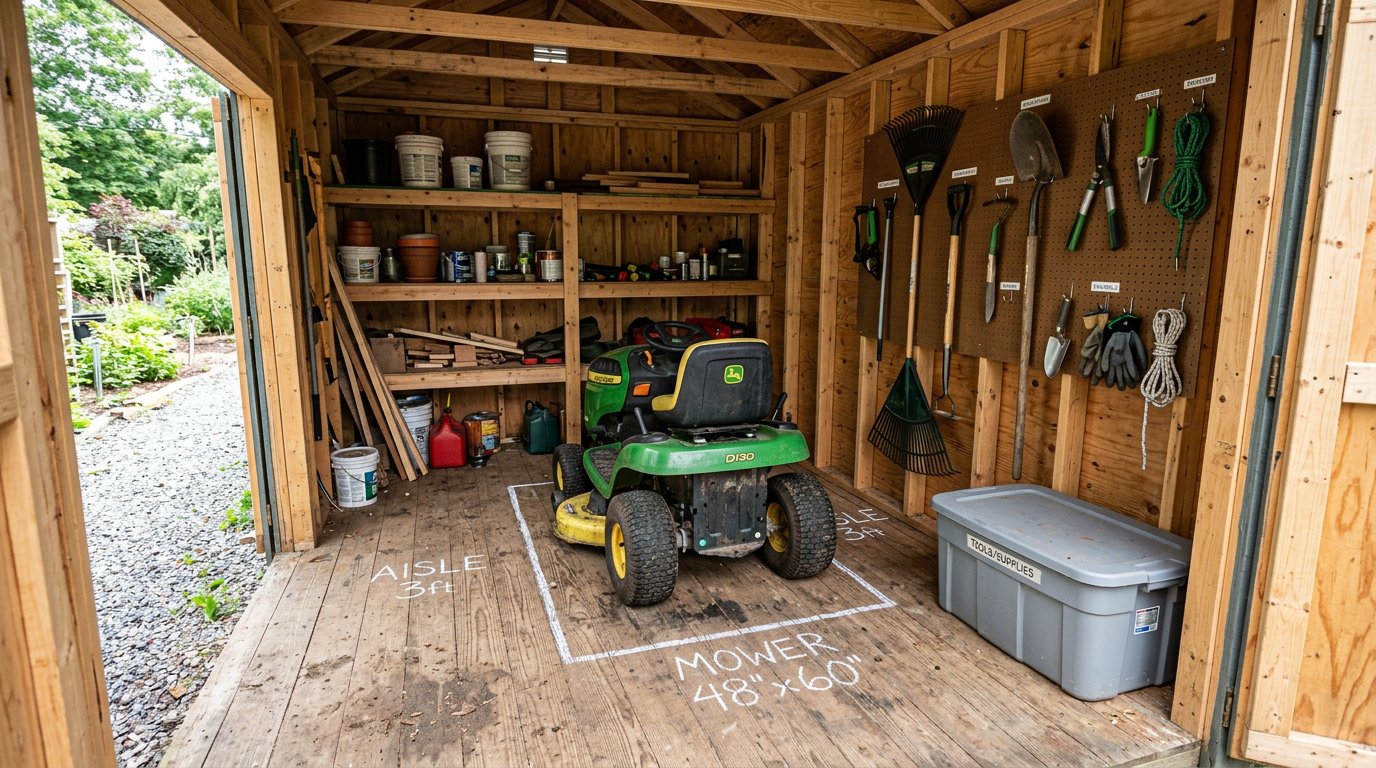
Do the site work on paper before you buy any lumber. Most shed problems start with the ground, not the framing. When you design your own shed, the site and foundation shape many of the other choices.
Check Local Rules First
Local rules decide what you can build and where. Before you finalize your drawing, check these four areas:
- Permit thresholds: Many areas exempt small sheds, often under 120 to 200 square feet. Exemptions vary, so confirm your local limit.
- Setbacks: Many jurisdictions require accessory buildings to sit several feet from property lines. The required distance changes by zone.
- HOA rules: Some neighborhoods regulate height, siding, and color.
- Utilities: In the United States, call 811 before digging any footing or post hole. The service is free and marks buried lines.
Write down each answer. For example, a loft or electrical service may trigger a permit even on a small shed. If a rule changes your footprint, return to your sketch before moving on.
Pick a Site That Drains Well
Look for ground that is level or close to it. Avoid spots near downspouts and low areas where water collects. Choose a location that a wheelbarrow or small trailer can reach. Keep clear of large tree roots and overhead lines.
Let the ground slope away from the shed. A fall of about 1 inch per 10 feet is a good drainage target. Keep the finished floor at least 6 inches above the finished grade. This gap keeps moisture away from the floor framing.
Compare Foundation Options
Your foundation sets the floor height, the framing, and the anchor points. Compare the common choices:
- Compacted gravel pad: Works well for small sheds with good drainage. It needs edge containment and occasional leveling.
- Pressure-treated skids: Timber runners set on gravel. They suit portable or semi-permanent sheds, but the lumber must be rated for ground contact.
- Concrete piers or blocks: Individual supports that improve airflow and handle slopes. Every pier must sit level at the same height.
- Concrete slab: Typically about 4 inches thick. It suits workshops or heavy equipment, but it costs more and is hard to relocate.
For a standard 8×10 shed, a gravel pad with pressure-treated skids is a forgiving choice. A slab makes sense only for heavy use, since it locks in the location.
Lock In the Foundation Before Drawing
Choose the foundation before you draw the floor. Changing it later means redoing the framing. Mark your anchor points on the plan as well. Specify ground anchors or hurricane ties sized for your wind zone.
Next, confirm the roof design against local wind and snow load requirements. Your building department can provide the numbers for your region. Therefore, check them before you finalize the roof pitch.
Once the rules, site, and foundation are settled, you are ready for the final design pass. Record these decisions on a planning worksheet so you can reference them while you draw.
Design Your Own Shed Mistakes to Avoid and a Final Planning Checklist
Common Mistakes to Avoid
When you design your own shed, most first-timers repeat the same handful of errors. Catching them on paper costs nothing. Fixing them after framing does not.
- Sizing for today. Measure your tools and storage now. Then add room for one more item and a clear aisle.
- Ignoring door clearance. A door that cannot open fully becomes a daily hassle. Test the swing with a paper template.
- Forgetting roof loads. Snow, wind, and rafter span all matter. Check local requirements and rafter span tables.
- Using the wrong lumber. Anything touching soil or gravel needs pressure-treated or naturally resistant wood.
- Skipping ventilation. Trapped moisture rots floors and rusts tools. Plan vents on opposite walls or in the roof.
- Building on a low spot. Water pooling under the shed rots the floor from below. Choose a higher, well-drained site.
- Drawing without a cut list. Without one, you waste lumber. As a result, you make extra trips to the store.
- Choosing a door that fights the layout. Keep the swing clear and the aisle straight.
Final Planning Checklist
Print this list and tick each box before you buy materials.
Size and layout
- ☐ Storage inventory written with dimensions
- ☐ At least 30 to 36 inches of main aisle
- ☐ Floor plan sketched to scale
- ☐ Wall height selected
Roof, door, and windows
- ☐ Roof type and pitch chosen (for example, 6:12)
- ☐ Overhang set (typically 12 inches)
- ☐ Door width confirmed (36 inches minimum for a single)
- ☐ Door swing drawn and checked against the layout
- ☐ Ventilation planned
Site and foundation
- ☐ Local permit threshold checked
- ☐ Setbacks and HOA rules confirmed
- ☐ Utilities located by calling 811 or your local equivalent
- ☐ Site level, drained, and clear of roots
- ☐ Foundation type selected and sized
Specification
- ☐ Framing plan with stud and joist spacing
- ☐ Materials list and cut list completed
- ☐ Fasteners specified for your wind zone
- ☐ Build order written
Use the Planning Worksheet
The printable planning worksheet helps you work through this checklist step by step. It includes a footprint grid, a door-swing template, and a cut-list template. However, no worksheet replaces local rules. Confirm permit, setback, and load requirements with your building department before you finalize anything.
Conclusion
Designing your own shed is a series of practical decisions, made in order. Start with what you need to store and the clearance you need to move it. Set the footprint, sketch the layout to scale, and then choose the roof, doors, and windows that fit the layout. Check the rules, pick a site that drains well, and select a foundation that suits the size and weight of the building.
Each decision is easier to change on paper than in the yard. Take your time with the door swing and the drainage, because those are the choices that are hardest to fix later. When the sketch, the site, and the specification agree, you are ready to buy materials with confidence.
Download the planning worksheet, work through the checklist, and decide how far you want to take the design yourself. A finished plan that fits your yard is a good result, whether you drew it from scratch or started from a tested design.