
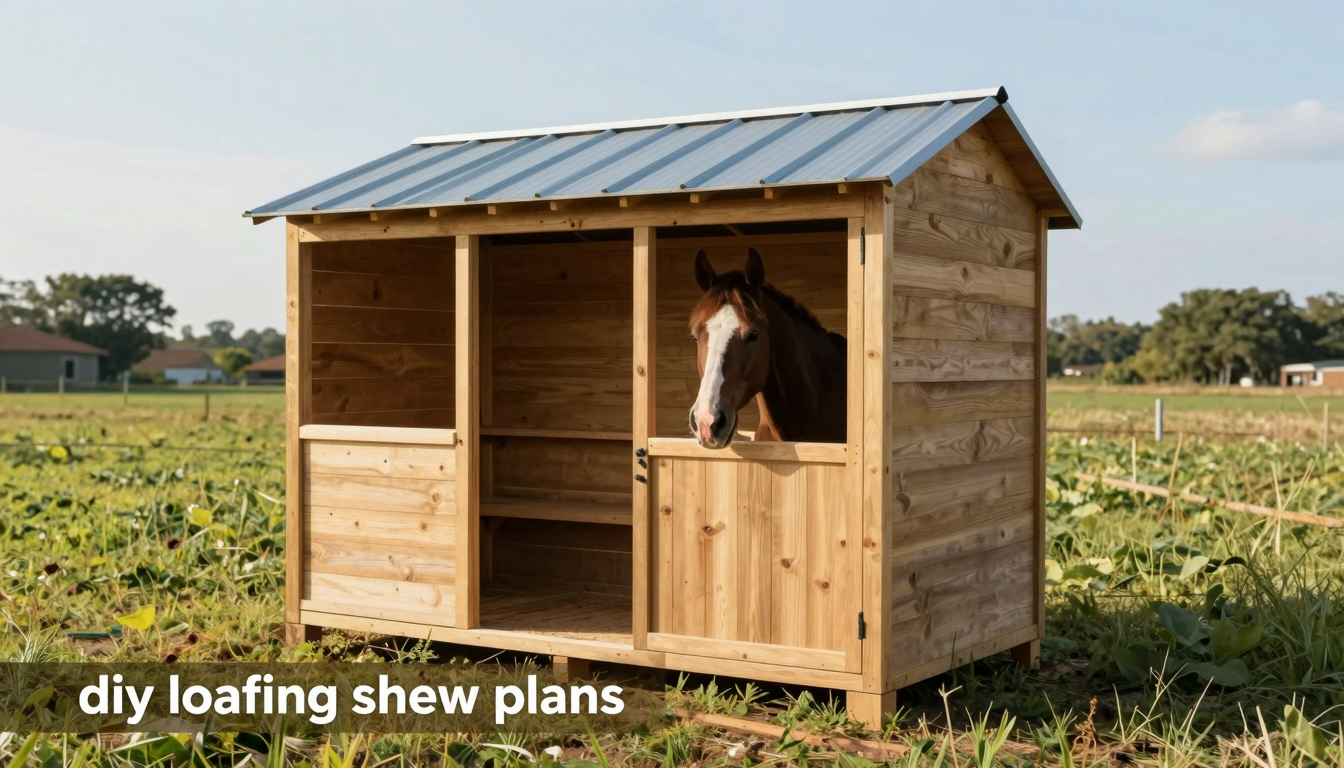
Embarking on a project using loafing shed plans can be an incredibly rewarding experience. It offers a practical and cost-effective solution for sheltering livestock, storing equipment, or even creating a simple workshop. Whether you’re a seasoned DIY enthusiast or a first-time builder, constructing your own loafing shed provides the satisfaction of creating something with your own hands. This comprehensive guide will walk you through every stage of the process. We’ll cover everything from understanding what a loafing shed is to the final touches of customization and maintenance. We’ll provide actionable information, detailed resources, and expert tips to ensure your project is a success. This will help you build a durable and functional structure that stands the test of time.
What Are Loafing Sheds and Why Build One?
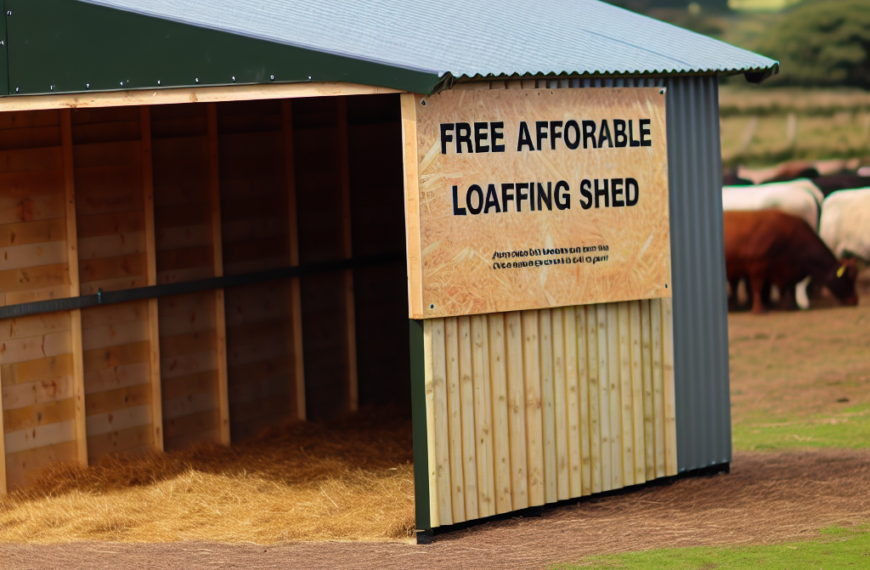
A loafing shed, often called a run-in shed, offers essential shelter. It’s a three-sided structure. Animals can access it freely. This design protects livestock from harsh weather. Think of sun, wind, rain, and snow. Unlike fully enclosed barns, it has one open side. This open access promotes natural animal behavior. It also reduces stress for horses, cattle, and goats. Therefore, it’s an ideal choice for many farm animals.
Why Choose DIY Loafing Shed Plans?
Building with DIY loafing shed plans provides significant advantages. Firstly, it’s highly cost-effective. You save money by sourcing materials yourself. You also contribute the labor. For example, hiring a contractor can be expensive. Consequently, a DIY approach reduces overall costs. Secondly, these plans allow extensive customization. You can tailor the size and materials. You can also choose specific features. This ensures a perfect fit for your needs. Consider your property layout and aesthetic preferences. This flexibility is crucial.
Whether you need a small shelter for a few sheep or a larger one for multiple horses, DIY plans adapt. In addition, a loafing shed offers versatility beyond livestock. It can store hay or farm equipment. It might even serve as a covered workspace. The sense of accomplishment from building it yourself is a bonus. Therefore, DIY shed plans are popular among property owners.
Ready to start your project? Explore our comprehensive DIY loafing shed plans today and receive a free material list!
Sign up for our newsletter to get exclusive tips and discounts on building materials.
Choosing the Right Loafing Shed Plans for Your Needs
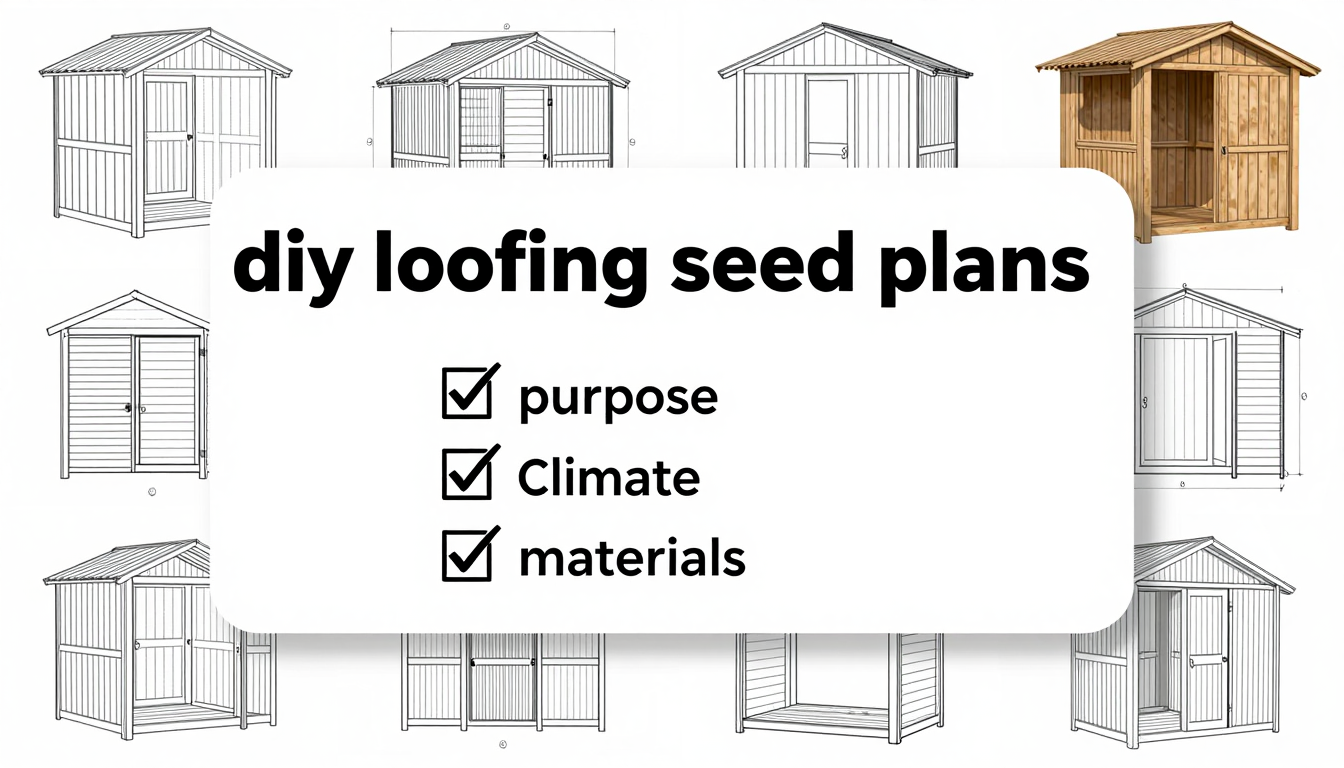
Selecting the ideal DIY loafing shed plans is the critical first step for a successful build. This choice significantly impacts your project’s complexity, cost, and material needs. Therefore, careful consideration is essential.
Assessing Your Needs and Climate
Begin by defining the shed’s primary purpose. Will it shelter a single horse, multiple livestock, or serve as a secure storage area? For instance, a single horse typically requires a minimum 10×12 foot shelter. Conversely, multiple animals will need proportionally larger dimensions. Moreover, consider your local climate. Areas experiencing heavy snowfall necessitate robust roof designs. Windy regions, on the other hand, demand strong anchoring and framing to ensure stability. Always look for shed plans that specify structural integrity suitable for your specific weather conditions. This proactive approach helps prevent future issues.
Material and Design Considerations
Material preferences also play a crucial role in your decision. Common options include wood, metal, or a combination. Wood offers a classic aesthetic and is often easier for DIYers to work with. Metal, however, provides greater durability and requires less maintenance. For example, a wooden shed might be more aesthetically pleasing in a rustic setting. A metal shed, by contrast, could be a better choice for extreme weather.
Finding and Evaluating Plans
Many free and paid DIY loafing shed plans are available online. When reviewing them, pay close attention to the level of detail. Look for comprehensive material lists, precise cut lists, and exceptionally clear instructions. Some plans cater to beginners, offering simpler designs and techniques. Others are more suited for advanced builders, featuring complex joinery or larger structures.
Before committing to any specific plan, always verify local building codes and zoning regulations. These guidelines can affect the permissible size, placement, and even material requirements for your shed. For example, some areas have setback requirements from property lines. Consequently, ignoring these rules can lead to costly modifications or even demolition.
Tip: Consider joining a DIY building forum. Members often share insights and reviews of various DIY loafing shed plans, which can be incredibly helpful.
Recommendation: Look for plans with detailed 3D renderings or multiple angle views. This helps visualize the finished project more accurately.
Essential Tools and Materials for Your Loafing Shed Project
Before you begin building your dream shelter, gathering the correct tools and materials is crucial. This preparation ensures a smoother, safer, and more efficient construction process. For example, having everything on hand prevents frustrating delays.
Essential Tools for Your Loafing Shed Project
Building a sturdy loafing shed requires a mix of power and hand tools. Therefore, a well-stocked toolbox is your best friend.
Power Tools:
- Circular Saw: This is indispensable for cutting lumber to size. For instance, you’ll need it for framing and sheathing.
- Cordless Drill/Driver: You’ll use this constantly for drilling pilot holes and driving screws. Moreover, a powerful model saves significant time.
- Miter Saw (Optional but Recommended): A miter saw offers precise, angled cuts. Consequently, your framing will be much tighter and stronger.
- Jigsaw: Useful for cutting curves or intricate shapes, though less critical for basic shed construction.
Hand Tools:
- Hammer: For nailing, prying, and general adjustments.
- Tape Measure: Accuracy is paramount in construction. Therefore, a reliable tape measure is a must-have.
- Level: Essential for ensuring your foundation and walls are perfectly straight.
- Speed Square: This tool helps mark and check angles quickly.
- Utility Knife: For cutting roofing felt or flashing.
- Pencil/Marker: For marking cuts and measurements.
Safety Gear:
Safety is non-negotiable. Always prioritize your well-being.
- Safety Glasses: Protect your eyes from flying debris.
- Work Gloves: Prevent splinters and cuts.
- Ear Protection: Crucial when operating power tools for extended periods.
For detailed recommendations and to purchase high-quality tools, explore our curated selection of Power Tools and Hand Tools.
Key Materials for Your DIY Loafing Shed
Your chosen DIY loafing shed plans will include a specific materials list. However, here’s a general overview of what you’ll need. Investing in quality materials enhances durability.
Lumber:
- Framing Lumber (e.g., 2x4s, 2x6s): Select straight, knot-free boards. Pressure-treated lumber is vital for any ground contact components.
- Plywood or OSB: Used for sheathing walls and roofing. Exterior-grade options offer better weather resistance.
Roofing:
- Metal Panels: A popular choice for their longevity and ease of installation.
- Asphalt Shingles: Offer a more traditional look and are widely available.
- Roofing Felt/Underlayment: Provides an extra layer of protection under your chosen roofing material.
Fasteners:
- Nails: Common for framing. For instance, 16d common nails are standard.
- Screws: Excellent for securing sheathing and critical connections. Use exterior-grade or galvanized screws to prevent rust.
- Bolts/Anchors: For securing the shed to its foundation.
Foundation Materials:
- Concrete Mix: For pouring footings or piers.
- Gravel: Provides drainage and a stable base for concrete.
Consider using galvanized fasteners and exterior-grade plywood. Consequently, your shed will withstand the elements much longer. Always double-check your material list against your DIY loafing shed plans. This prevents costly return trips to the hardware store.
For a comprehensive material list tailored to various loafing shed designs, consider exploring plans from reputable providers like Plan Provider 1 or Plan Provider 2.
Step-by-Step Construction Guide for Your Loafing Shed
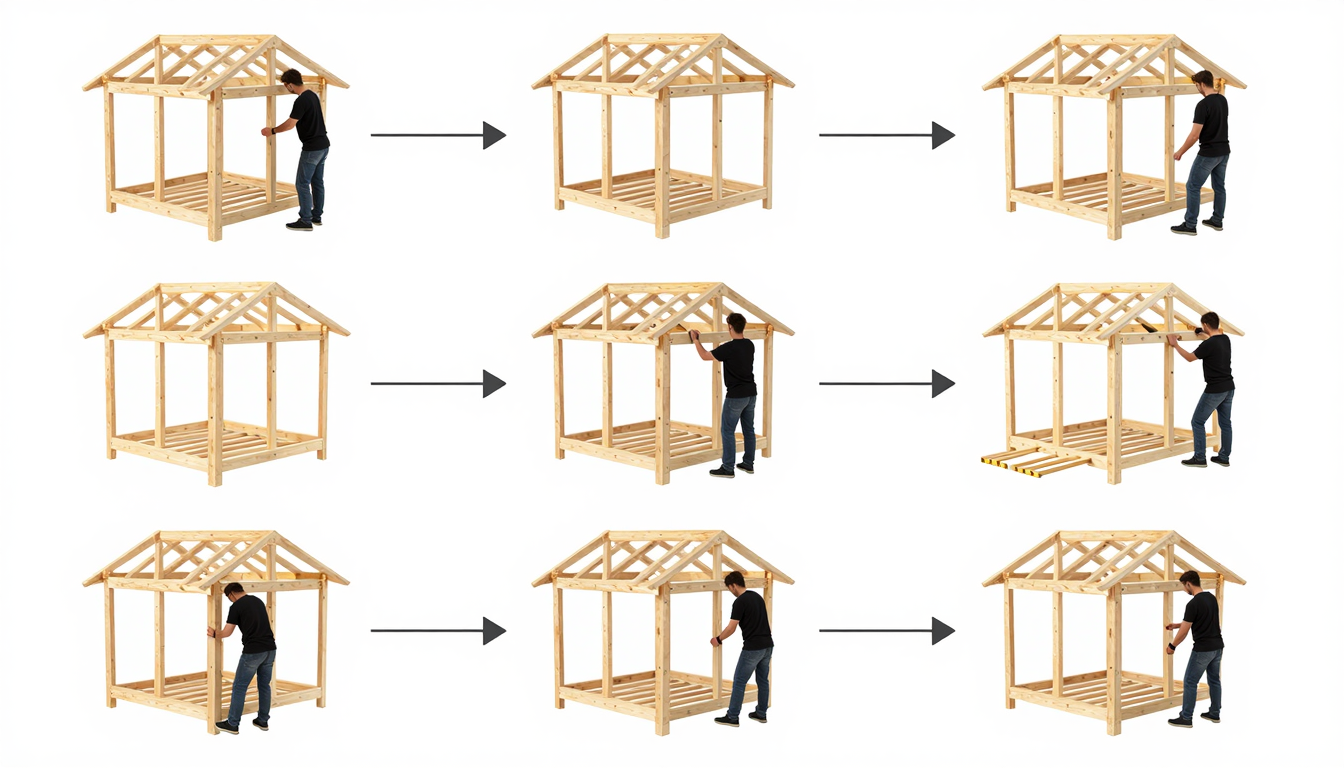
Building your own loafing shed is a rewarding project. This section provides a general, yet comprehensive, guide to constructing your shelter. Remember, always refer to your specific DIY loafing shed plans for precise measurements, material specifications, and detailed instructions.
Preparing Your Site and Foundation
First, site preparation is crucial. Choose a location that is level and well-drained. This prevents water accumulation and extends the life of your shed. Clear the area of any debris, rocks, or vegetation. Next, accurately mark out the footprint of your loafing shed according to your plans. For instance, use stakes and string to define the perimeter.
Subsequently, focus on the foundation. Your DIY loafing shed plans will specify the type of foundation. Common options include concrete piers or a compacted gravel base. If using piers, excavate holes to the required depth and pour concrete. Ensure all piers are perfectly level and properly spaced. A level foundation is paramount for structural integrity. Therefore, double-check your work with a long spirit level.
Framing the Structure
Once the foundation is solid, proceed to floor framing. Use pressure-treated lumber for all components that will be in contact with the ground or are exposed to moisture. Construct the perimeter frame, then install the floor joists at the specified intervals. For example, joists are often spaced 16 or 24 inches on center. Securely fasten all connections with appropriate hardware, such as hurricane ties or joist hangers. After framing, attach the subflooring using exterior-grade plywood or OSB. This creates a stable base for the rest of your build.
Next comes wall framing. Assemble individual wall sections flat on the ground. This makes the process much safer and easier. Build each wall stud by stud, incorporating door and window openings as indicated in your DIY loafing shed plans. Once assembled, raise each wall section into position and secure it to the floor frame. It’s vital to ensure that all walls are plumb (vertically straight) and square (at perfect 90-degree angles to each other). Use temporary bracing to hold them in place until the roof is framed. Regularly check for squareness and plumbness throughout this stage.
Roofing and Siding Installation
Moving on, tackle roof framing. This typically involves building roof trusses or rafters. These components provide the structural support for your roof. Assemble them carefully on the ground, following the angles and dimensions provided in your plans. Then, lift and secure them to the top plates of your framed walls. Use strong fasteners, such as hurricane ties, to resist uplift from wind.
After the roof frame is in place, install the sheathing and roofing material. Cover the roof frame with plywood or OSB sheathing, ensuring proper overhangs. Subsequently, install your chosen roofing material. Popular choices for loafing sheds include metal panels, which are durable and low-maintenance, or asphalt shingles. For example, metal roofing is often easier for DIYers.
Finally, attach the siding to the exterior walls. Options range from T1-11 plywood, metal panels, or traditional wood siding. Each offers different aesthetic and durability benefits. To finish, install trim and finishing elements. This includes corner trim, fascia boards, and any other decorative or protective details. Consider adding a gravel apron around the base of the shed to improve drainage and prevent splash-back onto the siding. Throughout this entire construction process, always prioritize safety by wearing appropriate personal protective equipment.
Customizing and Maintaining Your Loafing Shed
Once the robust framework of your DIY loafing shed plans is complete, the true personalization begins. This crucial stage allows you to tailor the structure to perfectly suit your livestock’s needs and enhance its long-term functionality. For instance, consider integrating built-in feed bins or hay racks directly into the design. This not only saves space but also streamlines feeding routines. Furthermore, installing a self-filling water trough can provide a constant, fresh water supply, significantly reducing daily chores.
Enhancing Comfort and Functionality
Ventilation is paramount, especially in warmer climates. Therefore, incorporating ridge vents or gable vents will promote crucial airflow, keeping your animals cooler and reducing moisture buildup. If your original DIY loafing shed plans didn’t include them, adding windows will flood the interior with natural light, creating a more pleasant environment. A Dutch door, split horizontally, offers the best of both worlds: allowing the top half to open for ventilation while keeping animals securely inside. Inside, consider durable rubber mats for flooring. These provide excellent insulation, comfort for hooves, and are remarkably easy to clean, contributing to better hygiene. For organizing tools or animal care supplies, shelving units or sturdy hooks can be invaluable additions. Moreover, a fresh coat of exterior paint or stain not only boosts curb appeal but also forms a vital protective barrier against harsh weather, extending the life of your structure.
Long-Term Maintenance for Your Investment
Maintaining your DIY loafing shed is key to ensuring its longevity and continued service. Regular inspections are non-negotiable. Begin by thoroughly checking the roof for any signs of leaks, damaged shingles, or loose panels; prompt repairs can prevent costly structural issues. Similarly, inspect the siding for any indications of rot, insect damage, or loose boards. The foundation also requires attention; ensure it remains stable and free from cracks or settling. Good drainage around the shed is critical to prevent moisture accumulation, which can lead to wood rot or foundation problems. Therefore, keep the surrounding area clear of debris and vegetation. Periodically, tighten any loose fasteners on the frame, siding, or roof. Reapplying paint or stain every few years, as needed, will refresh its appearance and reinforce its protective qualities. By following these maintenance tips, your investment in DIY loafing shed plans will provide a safe and comfortable shelter for your animals for many years to come. For more advanced tips and comprehensive guides on shed maintenance, Get started.
Successfully completing your project using DIY loafing shed plans is a testament to your dedication and skill. From the initial research into various designs to the final touches of customization, you’ve created a valuable asset for your property. This guide has aimed to equip you with the knowledge and confidence needed to navigate each stage of construction, ensuring your loafing shed is not only functional but also durable and aesthetically pleasing. Remember, the key to any successful DIY endeavor lies in careful planning, attention to detail, and a commitment to safety. Whether your new loafing shed provides essential shelter for your animals or serves as a robust storage solution, you can take pride in a structure built with your own hands. Continue to maintain your shed diligently, and it will serve you well for years to come, proving the enduring value of well-executed DIY loafing shed plans. For more tips on maintaining your outdoor structures, check out our article on shed maintenance tips.