
Are you searching for comprehensive free 12×16 shed plans with material list to finally build that much-needed storage space in your backyard? Look no further! Building your own 12×16 shed is a rewarding DIY project that not only saves you money but also provides a custom solution for your storage needs. Furthermore, a well-built shed can significantly enhance your property’s value and functionality. This detailed guide offers everything you need, from DIY 12×16 shed blueprints and materials to step-by-step instructions, ensuring a successful construction experience. Consequently, you’ll gain the confidence and knowledge to tackle this project head-on.
Introduction: Why Build a 12×16 Shed?
Are you dreaming of more storage, a dedicated workshop, or a creative space right in your backyard? A 12×16 shed offers an exceptional solution, striking a perfect balance between ample room and a manageable footprint. This popular size provides 192 square feet, making it incredibly versatile for a multitude of uses. Furthermore, building your own shed can be a highly rewarding project.
Why Choose a 12×16 Shed?
The 12×16 dimension is a favorite among homeowners for several compelling reasons. Firstly, it offers significant storage capacity. Imagine neatly organizing all your gardening tools, lawnmowers, bicycles, and seasonal decorations. Secondly, this size is ideal for creating a functional workshop. You can easily set up a workbench, store power tools, and have room to move. Moreover, it can serve as a hobby room, a small home office, or even a playhouse for children.
Benefits of DIY Shed Building
Opting to build your own shed comes with numerous advantages.
- Cost Savings: You can often save a substantial amount compared to buying a pre-built shed.
- Customization: Tailor every detail, from window placement to siding material, to match your home’s aesthetic.
- Quality Control: Select high-quality materials, ensuring your shed is durable and built to last.
- Personal Achievement: There’s immense satisfaction in seeing a structure you built with your own hands.
Therefore, embarking on this DIY journey with the right resources is a smart choice. Ready to transform your backyard? Get started today with our comprehensive free 12×16 shed plans with material list and bring your vision to life!
Understanding Your 12×16 Gable Shed Plans
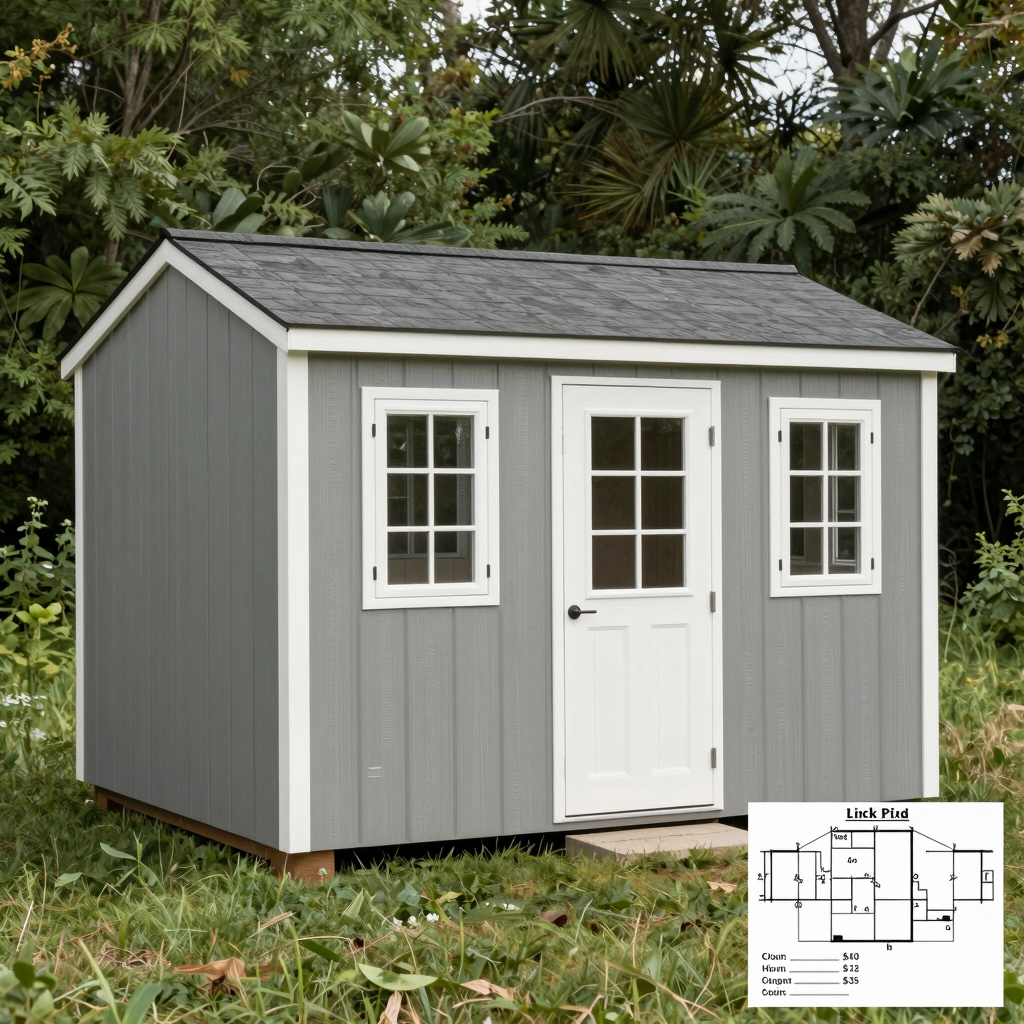
Before you even pick up a hammer, a thorough understanding of your 12×16 gable shed plans is paramount. These blueprints are your roadmap, guiding you through every phase of construction. Specifically, our plans detail a classic gable roof design, known for its excellent water drainage and generous interior headroom. This design is not only aesthetically pleasing but also relatively straightforward for DIY builders.
Decoding Your Gable Shed Blueprints
Your free 12×16 shed plans with material list break down the entire project into manageable sections. Firstly, you’ll encounter detailed schematics for the foundation. This crucial step ensures a level and stable base for your structure. Furthermore, the plans illustrate the precise layout for the floor framing, including joists and rim joists. Understanding these early diagrams prevents costly rework later.
Key Components Illustrated
Next, the plans meticulously outline the wall framing. This includes stud placement, header dimensions for doors and windows, and corner bracing. Moreover, the roof section provides clear instructions for constructing the gable trusses. These components define the shed’s shape and integrity. Finally, you’ll find guidance on sheathing, siding, and roofing installation. Reviewing these sections beforehand allows you to visualize the completed project. For example, knowing the roof pitch helps with material estimation.
Maximizing Your Build Success
Take the time to familiarize yourself with all symbols, legends, and dimensions. Consequently, this proactive approach minimizes errors and streamlines your building process. Consider highlighting key measurements or difficult steps. Ultimately, a well-understood plan translates into a successful, sturdy shed.
Ready to start? Download your free 12×16 shed plans with material list today and embark on your DIY shed journey.
Essential Tools and Safety Guidelines for Shed Building
Building a shed is a rewarding project. However, proper preparation is key to success and safety. Gathering the right tools before you begin saves time and frustration. Moreover, prioritizing safety protects you throughout the construction process.
Essential Tools for Your 12×16 Shed Project
You will need a combination of hand tools and power tools. Each plays a crucial role in efficient shed construction.
Basic Hand Tools:
- Tape Measure: Essential for accurate measurements. For example, use it for cutting lumber to precise lengths.
- Hammer: Needed for driving nails, especially for framing.
- Level: Ensures your foundation and walls are perfectly plumb. A 4-foot level is ideal.
- Speed Square: Helps mark accurate 90-degree angles quickly.
- Utility Knife: Useful for cutting roofing felt or house wrap.
- Pencil: For marking all your cuts and measurements.
- Chalk Line: Creates long, straight lines on larger surfaces.
Power Tools (Highly Recommended):
- Circular Saw: Your primary tool for cutting lumber. Indeed, a good quality saw makes clean, straight cuts.
- Miter Saw: Excellent for precise crosscuts and angle cuts. This speeds up framing considerably.
- Cordless Drill/Driver: Indispensable for pre-drilling holes and driving screws. Therefore, invest in one with good battery life.
- Nail Gun (Framing and Finish): Significantly reduces construction time. Furthermore, it results in stronger, more consistent connections.
- Jigsaw: Useful for cutting curves or intricate shapes, such as window openings.
Safety Guidelines for Shed Building
Safety is paramount on any construction site. Even a small shed project requires vigilance.
- Personal Protective Equipment (PPE): Always wear safety glasses to protect your eyes from debris. Use work gloves to prevent splinters and cuts. Hearing protection (earplugs or earmuffs) is crucial when operating power tools for extended periods. Furthermore, wear sturdy, closed-toe shoes.
- Work Area: Keep your work area clear of clutter and tripping hazards. A clean site reduces accidents.
- Tool Maintenance: Ensure all power tools are in good working condition. Check cords for damage before use. A dull blade can be more dangerous than a sharp one.
- Read Manuals: Understand how to operate each tool safely. Always follow manufacturer guidelines.
- Lifting Safely: Lift heavy materials with your legs, not your back. Ask for help when moving large or cumbersome items.
By assembling the correct tools and adhering to these safety guidelines, you set yourself up for a successful and enjoyable shed-building experience. For detailed instructions and a comprehensive list of materials, download your free 12×16 shed plans with material list today.
Material List: What You’ll Need for Your 12×16 Shed
Building your own 12×16 shed requires a precise inventory of materials. Consequently, having everything on hand before you begin ensures a smooth construction process. This comprehensive material list is designed to prevent multiple trips to the hardware store. Moreover, it helps you budget effectively.
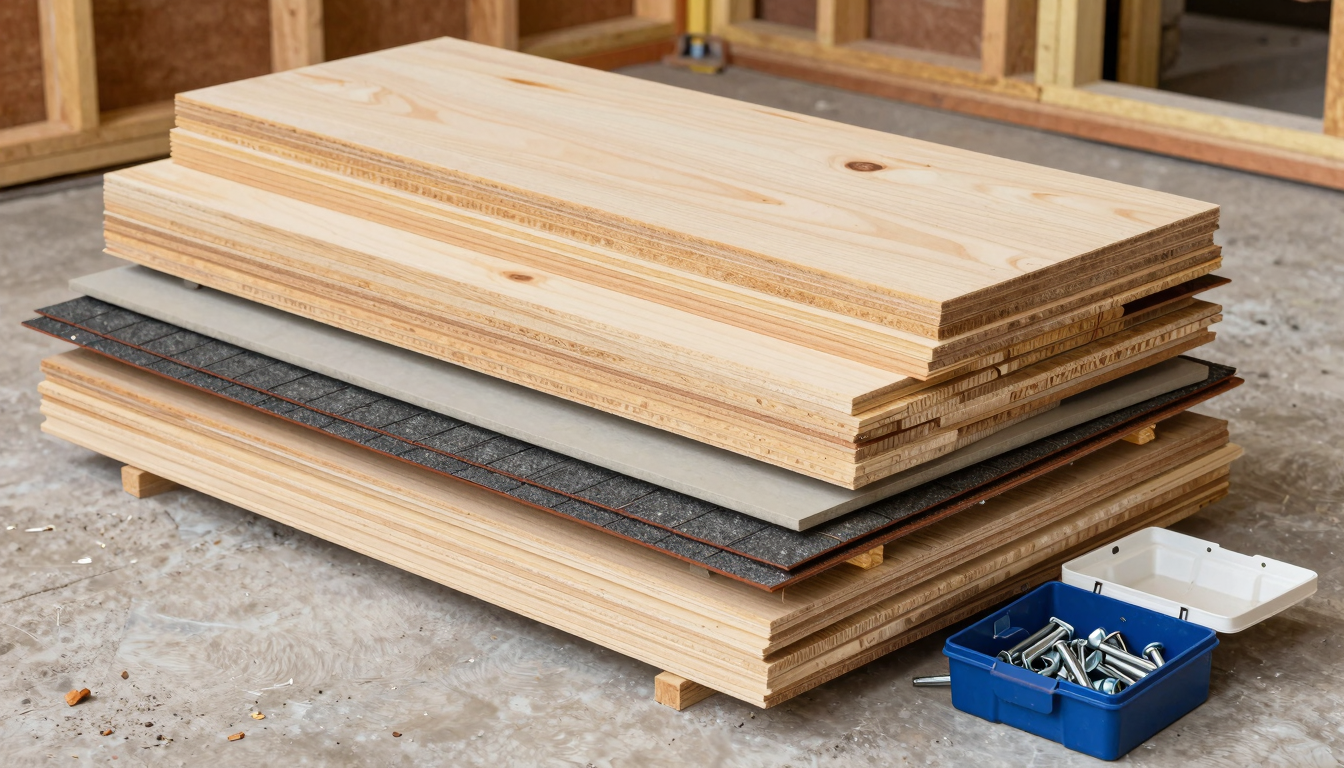
Lumber and Structural Components
The backbone of your shed is its lumber. You will need various dimensions for different structural elements.
- Framing Lumber:
- 2x4s: Primarily for wall studs, ceiling joists, and roof rafters. For example, a 12×16 shed typically uses numerous 8-foot and 10-foot 2x4s.
- 2x6s: Often used for floor joists, especially if you plan for heavier storage. Furthermore, these provide enhanced structural integrity.
- Plywood or OSB (Oriented Strand Board): Essential for flooring (typically 3/4 inch thick) and roof sheathing (1/2 inch thick). Specifically, you’ll need multiple 4×8 sheets.
Exterior and Finishing Materials
These materials protect your shed and give it its aesthetic appeal.
- Roofing Materials:
- Tar paper or Roofing Felt: A crucial underlayment for weather protection.
- Asphalt Shingles: Choose a durable type that matches your home. Alternatively, metal roofing is another popular option.
- Drip Edge: Protects the edges of your roof.
- Siding:
- T1-11 Plywood Siding: A common, cost-effective choice that provides both structural and aesthetic benefits.
- Vinyl Siding, Wood Lap Siding, or Cedar Shingles: These offer different looks and durability.
- Doors and Windows:
- Pre-hung Door Kit: Simplifies installation. You might opt for a single or double door.
- Shed Windows: Consider acrylic or tempered glass for safety and light.
Hardware and Fasteners
Don’t underestimate the importance of quality fasteners.
- Nails: Different lengths are needed for framing, sheathing, and siding. For instance, 16d common nails are ideal for framing.
- Screws: Deck screws are excellent for securing floorboards. Moreover, specific exterior screws resist rust.
- Hurricane Ties: Essential for roof to wall connections in windy areas.
- Door Hardware: Hinges, a latch, and a handle are necessary.
- Anchors: If securing your shed to a concrete slab, choose appropriate anchor bolts.
Reviewing this list thoroughly will prepare you for your build. You can find a detailed, itemized breakdown within our free 12×16 shed plans with material list. This comprehensive guide ensures you purchase every necessary component.
Step-by-Step Construction Guide: Building Your 12×16 Shed Foundation
The foundation is the bedrock of your 12×16 shed, providing essential stability and safeguarding against moisture. A robust foundation ensures your shed remains level and structurally sound for years. Furthermore, it protects the shed’s base from ground contact, preventing rot and pest infestations. Therefore, dedicating ample time to this step is crucial for the longevity of your build.
Choosing Your 12×16 Shed Foundation Type
Several foundation options are suitable for a 12×16 shed. Each offers different benefits in terms of cost, effort, and durability.
- Gravel Pad with Pressure-Treated Skids: This is often the most popular and cost-effective choice for DIY builders. It involves creating a level bed of gravel, which provides excellent drainage. Pressure-treated skids then rest on this gravel, forming the main support beams. This method is relatively easy to implement.
- Concrete Blocks (Pier Foundation): A pier foundation uses concrete blocks placed on leveled ground or small concrete footings. This lifts the shed off the ground, promoting airflow and preventing moisture buildup. However, ensuring all blocks are perfectly level is essential.
- Full Concrete Slab: While more labor-intensive and expensive, a concrete slab offers the most durable and permanent foundation. It provides a solid, level floor, ideal for heavy storage or workshop use. This option requires significant preparation and concrete work.
For our free 12×16 shed plans with material list, we primarily focus on the gravel pad with pressure-treated skids. This method balances ease of construction with excellent performance.
Step-by-Step Foundation Construction (Gravel Pad with Skids)
Building a proper gravel pad for your 12×16 shed foundation involves several key steps.
- Site Selection and Clearing: Choose a level area, if possible. Clear all vegetation, rocks, and debris from an area slightly larger than your 12×16 shed footprint (e.g., 14×18 feet).
- Rough Leveling: Use a shovel and rake to roughly level the ground. A slight slope away from the shed is beneficial for drainage.
- Layout and Excavation: Mark the exact perimeter of your gravel pad. Dig down 4-6 inches within this perimeter. This creates a trench for your gravel.
Tip: Use string lines and stakes to ensure square corners and straight edges.
- Install a Weed Barrier: Lay down heavy-duty landscape fabric over the excavated area. This prevents weeds from growing through your gravel. Overlap seams by at least 6 inches.
- Add and Compact Gravel: Spread 4-6 inches of crushed gravel (typically 3/4-inch clean stone) over the landscape fabric. Use a plate compactor to thoroughly compact the gravel in layers. This creates a firm, stable base.
- Level the Gravel Pad: Use a long, straight board and a level to ensure the entire gravel pad is perfectly level. Adjust gravel as needed. Accuracy here is critical for a square and plumb shed.
- Place Pressure-Treated Skids: Position your pressure-treated 4×4 or 4×6 skids on top of the leveled gravel pad. These skids will run the length of the shed, typically spaced 24 inches on center. Ensure they are parallel and perfectly level across their tops.
Building a solid foundation is paramount. For detailed diagrams and a complete breakdown of materials for your chosen foundation, download our free 12×16 shed plans with material list.
Framing the Walls: Detailed Instructions and Diagrams
With your sturdy foundation in place, it’s time to bring your shed to life by framing the walls. This critical stage involves precise cutting and assembly. Furthermore, accuracy here ensures your shed will be plumb and square.
Cutting and Assembling Wall Sections
Begin by laying out your lumber. Reference your free 12×16 shed plans with material list for exact dimensions. You will cut:
- Sole Plates (Bottom Plates): These form the base of each wall.
- Top Plates: These cap the wall studs. You’ll typically have a double top plate for added strength.
- Wall Studs: These vertical supports give the wall its height and rigidity.
- Headers: Essential for framing door and window openings, supporting the load above.
- Cripples and Sills: Used above and below window openings.
Assemble each wall section flat on the foundation or a level surface. This makes the process much safer and more accurate. First, nail the sole plate to the first top plate, inserting studs at the specified intervals. Next, construct any door or window openings within these sections. Use reliable framing nails and follow the nailing patterns detailed in your plans.
Raising and Bracing the Walls
Once each wall section is assembled, carefully raise it into position. This often requires an extra pair of hands. Moreover, temporary bracing is absolutely crucial. Attach diagonal braces from the top of the wall to stakes driven into the ground or directly to the foundation. This keeps the walls upright and plumb. Use a level frequently to ensure each wall is perfectly vertical.
After raising, secure adjacent walls at the corners. Consequently, strong corner connections are vital for structural integrity. Use appropriate fasteners, such as hurricane ties or corner bracing, as specified in your plans.
For comprehensive guidance, including detailed diagrams illustrating stud placement, header construction, and corner bracing techniques, download your free 12×16 shed plans with material list today.
Constructing the Roof: Gable Design Explained
Constructing the roof is a pivotal stage in your shed-building journey. Our free 12×16 shed plans with material list feature a classic gable roof design, known for its structural integrity and ease of construction. This design efficiently sheds water and snow, protecting your valuable stored items. Furthermore, a well-built roof enhances your shed’s overall aesthetic appeal.
Assembling the Trusses
The backbone of your gable roof is the truss system. Trusses are triangular frameworks designed to bear the roof’s weight and transfer it efficiently to the walls. Typically, you’ll assemble these components on a flat, stable surface, such as your shed’s future floor. This method ensures accuracy and simplifies the process.
- Cutting the Components: Carefully cut the rafter, tie beam, and web members according to the precise angles and lengths specified in your plans. Use a speed square for accuracy.
- Jig Creation: Create a simple jig on your assembly surface. This ensures each truss is identical, which is crucial for a straight roofline.
- Fastening: Use gusset plates and appropriate fasteners, such as hurricane ties or galvanized nails, to securely join the truss components. Strong connections are paramount for roof integrity.
Installing the Roof Structure
Once assembled, lifting and securing the trusses requires careful planning and, ideally, a helper.
- Lifting and Placement: Carefully lift each truss and position it on top of the shed’s wall plates. Space them evenly according to your plans.
- Temporary Bracing: Immediately brace each truss temporarily to prevent it from toppling. Use diagonal lumber scraps for stability.
- Permanent Fastening: Securely fasten the trusses to the top plates using hurricane ties or joist hangers. This creates a robust connection.
- Purlins: Install purlins, which are horizontal framing members. These provide additional support and a nailing surface for the roofing material.
Sheathing and Weatherproofing
The final step for the structural roof is applying the sheathing.
- Sheathing Material: Use plywood or OSB panels, typically 7/16-inch or 1/2-inch thick. Cut panels to fit precisely.
- Attachment: Nail the sheathing securely to the trusses and purlins. Stagger the seams for added strength.
- Felt Paper/Underlayment: Install a layer of roofing felt or synthetic underlayment over the sheathing. This acts as a critical moisture barrier, protecting your shed from water intrusion.
Tip: Overlap felt paper correctly to ensure proper water shedding.
For detailed instructions and diagrams, refer to your free 12×16 shed plans with material list.
Adding Doors and Windows: Customization and Installation
With the shed’s main frame standing, the next exciting stage involves adding doors and windows. These features transform your structure, enhancing both functionality and aesthetics. Our comprehensive plans guide you through standard openings. However, you have considerable freedom for customization.
Customizing Your Openings
Consider your shed’s primary purpose. For instance, a wider double door simplifies moving large items like lawnmowers or ATVs. Conversely, a single door with extra windows can maximize natural light. You might also opt for a transom window above a door. Furthermore, strategically placed windows improve ventilation, especially crucial for workshops. Think about the direction of prevailing winds.
Installation Techniques
Installing pre-hung doors and windows offers a straightforward approach. These units come assembled in their frames, ready for direct fitting into your rough openings. Alternatively, you can build custom door frames and hang individual doors. This option provides greater design flexibility. Always ensure your openings are plumb, level, and square before installation. This prevents future operational issues.
Crucial Sealing and Flashing
Proper flashing and sealing are non-negotiable for longevity. They create a critical barrier against water intrusion. Apply weatherproof flashing tape around the perimeter of all openings. Next, install drip caps above windows and doors. Finally, seal all gaps with exterior-grade caulk. This prevents moisture damage and maintains your shed’s structural integrity. Therefore, meticulous attention to these details is vital.
This step allows significant personalization of your shed. Your choices directly impact its usability and appearance. For detailed instructions and diagrams on integrating these elements, download your free 12×16 shed plans with material list today.
Finishing Touches: Siding, Roofing, and Interior Options
With the structural framework complete, it’s time to add the protective and aesthetic elements that transform your shed into a functional and attractive asset. These finishing touches are crucial for longevity and usability.
Siding Options for Durability and Style
Selecting the right siding is key to protecting your 12×16 shed from the elements. Furthermore, it significantly impacts its visual appeal. Consider these popular choices:
- T1-11 Plywood: This is a cost-effective and easy-to-install option. It offers a rustic look.
- Vinyl Siding: Extremely low maintenance and available in various colors. Consequently, it provides excellent weather resistance.
- Wood Planks (e.g., cedar, pine): Offers a classic, natural aesthetic. It may require more regular maintenance, such as painting or staining.
- LP SmartSide: An engineered wood product that resists rot and insects. It’s a durable and attractive alternative.
Tip: Always apply a good quality exterior primer before painting any wood siding.
Roofing for Ultimate Protection
The roof is your shed’s primary defense against rain, snow, and sun. Proper installation is vital.
- Roofing Felt: First, lay down roofing felt or synthetic underlayment. This provides an extra layer of protection.
- Asphalt Shingles: These are the most common and affordable choice. They come in many styles and colors. Install them according to manufacturer instructions.
- Metal Roofing: A more durable and longer-lasting option. It is resistant to fire and strong winds. However, it can be more expensive.
Recommendation: Ensure proper ventilation in your shed’s roof. This prevents moisture buildup and extends the life of your roofing materials.
Interior Customization for Maximum Utility
The interior of your 12×16 shed offers vast potential for organization. Therefore, plan your internal layout carefully.
- Shelving: Install shelves of various depths to store tools, gardening supplies, or seasonal items.
- Workbench: A sturdy workbench is invaluable for DIY projects. Consider adding pegboards above it for tool organization.
- Loft Storage: For taller sheds, a small loft can double your storage space. It’s ideal for infrequently used items.
- Lighting: Add battery-powered LED lights or consider solar-powered options for illumination.
These finishing details transform your basic structure into a highly functional space. Our free 12×16 shed plans with material list guide you through these final steps, ensuring a professional and satisfying result.
Estimated Cost Breakdown and Budgeting Tips
Building your own 12×16 shed, even with comprehensive free 12×16 shed plans with material list, involves a significant investment in materials. Understanding the potential costs upfront is crucial for a successful project. Your total expenditure will depend heavily on material choices, current local prices, and any premium features you select.
Key Cost Categories for Your 12×16 Shed
Here’s an estimated breakdown of where your budget will go:
- Foundation Materials: This includes concrete blocks, gravel, pressure-treated lumber for skids, and possibly vapor barrier. Pressure-treated lumber, while more expensive, offers superior resistance to rot and insects, extending your shed’s lifespan. For example, a basic gravel and block foundation is typically more affordable than a full concrete slab.
- Framing Lumber: Expect to allocate a significant portion of your budget here. This covers studs, joists, rafters, and sheathing. Prices for dimensional lumber can fluctuate, so getting quotes from multiple suppliers is wise.
- Roofing Materials: Shingles, roofing felt, drip edge, and fasteners are essential. Architectural shingles, for instance, cost more than 3-tab shingles but offer enhanced durability and aesthetic appeal.
- Siding: Options range from treated plywood and engineered wood to vinyl or natural wood. Each type has different price points and maintenance requirements. Furthermore, local climate considerations might influence your best choice.
- Doors and Windows: Pre-hung doors and windows are convenient but add to the cost. Building your own shed door can save money.
- Fasteners and Hardware: Don’t forget nails, screws, hinges, and latches. These small items add up quickly.
- Finishing Touches: Paint, caulk, sealants, and any interior shelving or workbench materials will also contribute to the final cost.
Budgeting Tips for Your Shed Project
Careful planning can significantly reduce your overall expenses.
- Get Multiple Quotes: Always compare prices for lumber and other major materials from several local suppliers. This ensures you get the best deals.
- Consider Material Grades: While high-grade lumber is ideal, some non-structural components might allow for a slightly lower grade to save money. However, never compromise on structural integrity.
- DIY Whenever Possible: Doing the work yourself saves on labor costs, which can be substantial.
- Buy in Bulk (Wisely): If you have storage and are sure of your needs, buying fasteners or other consumables in larger quantities can sometimes offer savings.
- Factor in a Contingency: Unexpected expenses are common in any construction project. Therefore, always add a 10-15% contingency to your total budget.
To help you plan effectively and manage your expenses, download our free 12×16 shed plans with material list.
Common Questions and Troubleshooting
Building your own 12×16 shed is a rewarding project. However, even with the most detailed instructions, questions can arise. This section addresses common queries and offers troubleshooting advice.
Tackling Common Construction Challenges
Uneven Ground: A perfectly level foundation is crucial. If your site isn’t perfectly flat, consider using gravel and pressure-treated lumber for a robust base. For minor discrepancies, shims can temporarily level the first course of foundation lumber. However, it’s always best to prepare a truly level site from the outset.
Adjusting for Different Siding: Our plans typically recommend specific siding. Nevertheless, you might prefer another material. When switching siding types, always verify the required fasteners and any specific framing adjustments. For example, some heavier sidings may need closer stud spacing.
Roof Pitch Calculations: Understanding roof pitch is vital for proper water drainage. Our free 12×16 shed plans with material list simplify this with clear diagrams. If you’re modifying the pitch, double-check your rise and run measurements. Furthermore, improper pitch can lead to leaks or structural issues.
Essential Troubleshooting Tips
Measure Twice, Cut Once: This timeless adage is paramount. Always verify your measurements before making any cuts. For instance, a small error in a wall stud length can cascade into significant problems later.
Dealing with Warped Lumber: Lumber isn’t always perfectly straight. If a board has a slight warp, try to use the straighter edge against your saw fence or guide. Alternatively, you can sometimes use clamps to temporarily straighten a board during assembly.
Fastener Selection: Using the correct fasteners is critical for structural integrity. Always refer to the material list for specific screw or nail types. Furthermore, using galvanized fasteners prevents rust, especially for exterior components.
Patience and careful execution are key to overcoming any challenges. Therefore, take your time and enjoy the process. For comprehensive guidance and to ensure a smooth build, download your free 12×16 shed plans with material list today!
Maintenance and Longevity Tips for Your New Shed
Building your own 12×16 shed is a significant achievement. Protecting that investment ensures it serves you for decades. Regular maintenance is key to its longevity. Furthermore, a little proactive care prevents costly repairs down the line.
Protecting Your Shed’s Exterior
Roof Inspection: Annually, check your roof for damaged, curled, or missing shingles. Repair them immediately to prevent water intrusion. This simple step averts rot and structural issues. Moreover, trim overhanging branches to avoid debris accumulation and potential damage.
Siding and Trim: Inspect the siding for cracks, rot, or insect activity, especially near the ground. Promptly address any issues by patching or replacing affected sections. Consider repainting or re-staining the exterior every 3-5 years. This protects the wood from UV rays and moisture. For example, a fresh coat of paint significantly extends the life of your shed.
Foundation Care: Ensure proper drainage around the base of your shed. Clear away debris or soil that might trap moisture against the foundation. This prevents water from seeping into the wooden components.
Interior and Ventilation
Moisture Control: Good ventilation is crucial to prevent mold and mildew. Check that vents are clear and unobstructed. Consider adding a small dehumidifier in humid climates. This helps maintain a dry interior environment.
Pest Prevention: Seal any small gaps or cracks in the walls or foundation. This prevents rodents and insects from entering. Store items in sealed containers to deter pests.
By following these straightforward maintenance tips, your self-built 12×16 shed will remain a valuable asset for many years. It will continue to provide reliable storage and enhance your property. To get started on your own durable storage solution, download your free 12×16 shed plans with material list today.
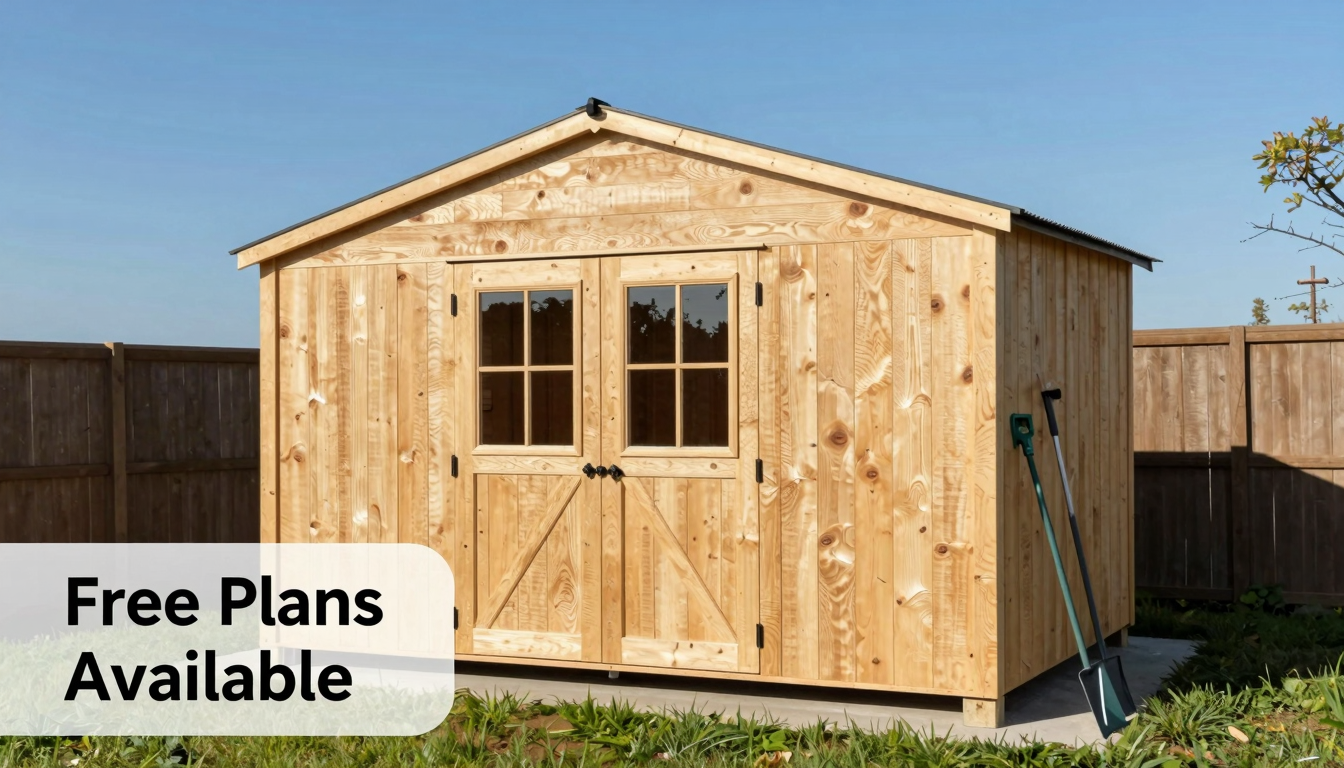
Download Your Free 12×16 Shed Plans (PDF)
Ready to transform your backyard with a robust, custom-built shed? Your journey begins right here. We’ve meticulously crafted comprehensive free 12×16 shed plans with material list, now available as an instant PDF download. This resource is designed to empower every DIY enthusiast, from beginners to seasoned builders. Furthermore, it provides all the critical information needed to construct a durable and functional gable shed.
What’s Included in Your Download?
Our downloadable PDF offers a wealth of detail. Specifically, it encompasses everything from the initial foundation pour to the final roofing shingle. You’ll find:
- Detailed Blueprints: Clear, scaled diagrams illustrate every angle and component. These ensure precision throughout your build.
- Step-by-Step Instructions: Easy-to-follow, sequential guidance simplifies the entire construction process. Therefore, you can proceed with confidence.
- Comprehensive Material List: A complete breakdown of lumber, hardware, and roofing supplies. This helps you budget accurately and avoid multiple trips to the store.
- Tool Recommendations: A list of essential tools, ensuring you have what you need before you start.
- Safety Guidelines: Crucial tips to keep you safe during every phase of your project.
Why Download Our Plans?
Having these plans readily accessible is invaluable. You can print them out for easy reference on the job site. Alternatively, view them on your tablet or smartphone. This flexibility means you have expert guidance at your fingertips, whenever and wherever you need it. Moreover, these plans are specifically tailored for a 12×16 gable shed. This provides ample storage or workspace. As a result, you save time and money by avoiding costly design errors.
Don’t let valuable time slip away. Take the first concrete step towards building your ideal storage solution today. Download your free 12×16 shed plans with material list and embark on a fulfilling DIY project that adds lasting value to your property!
Embarking on a DIY shed project using free 12×16 shed plans with material list is a fulfilling endeavor that yields a valuable asset for your home. By following our detailed DIY 12×16 shed blueprints and materials, you’re equipped to build a durable, functional, and aesthetically pleasing storage solution. Remember, careful planning, adherence to safety guidelines, and attention to detail are the cornerstones of a successful build. Furthermore, don’t hesitate to consult additional resources or seek advice if you encounter challenges. Ultimately, the satisfaction of creating something with your own hands, perfectly tailored to your needs, is truly unmatched. Start building today!


