
Embarking on a DIY shed project can be incredibly rewarding. With our comprehensive guide, you’ll discover everything needed about constructing a spacious and functional 16×24 shed. This resource is meticulously crafted for DIY enthusiasts and homeowners. We understand the importance of detailed instructions. Therefore, our plans come complete with a material list and a cut list. This ensures you have all the information to minimize waste and maximize efficiency. From foundational steps to the final touches, we’re here to transform your vision into a tangible, high-quality shed. Get ready to build with confidence!
What are 16×24 Shed Plans with Material List?

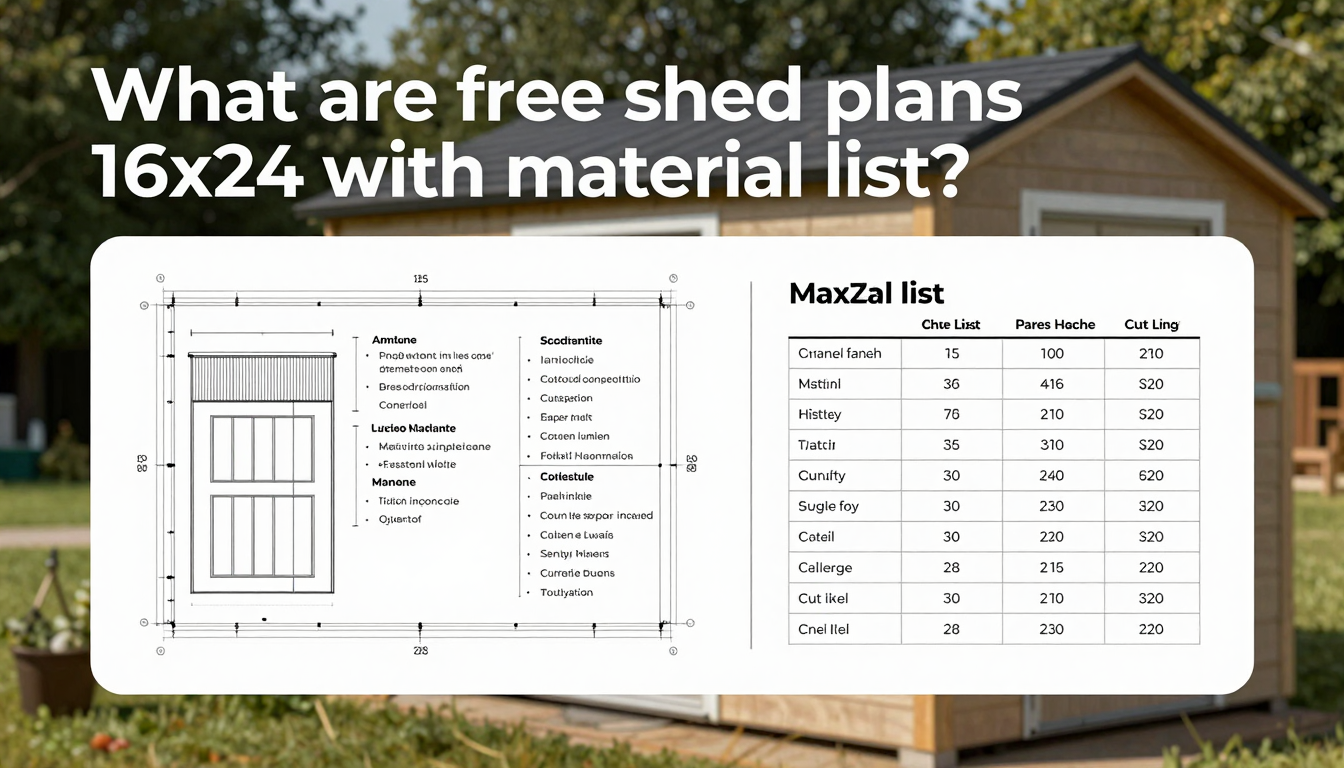
A “16×24 shed plans with material list” package provides comprehensive, downloadable blueprints and instructions for constructing a 16-foot by 24-foot storage shed. Essentially, it’s your complete DIY guide, eliminating the need for expensive architectural services. These plans typically include detailed architectural drawings, precise dimensions for every component, and essential framing details. Moreover, they cover roofing instructions, foundation specifics, and even door and window placement. The ‘material list’ component is particularly invaluable. For instance, it specifies every piece of lumber by type and quantity, recommends the correct fasteners, and lists other necessary supplies like roofing shingles, siding, and hardware. This meticulous breakdown helps you accurately budget and purchase exactly what you need, preventing costly over-purchases or frustrating multiple trips to the hardware store.
The Value of a Comprehensive Material List and Beyond
Many high-quality 16×24 shed plans, like those we offer, go a step further. They often incorporate a ‘cut list.’ This specifies the exact dimensions to cut each piece of lumber, saving you significant time and minimizing errors during construction. For example, instead of calculating board lengths on the fly, you’ll have a pre-measured guide. This comprehensive approach ensures that even individuals with basic to intermediate construction skills can successfully complete a robust and durable shed. Furthermore, some advanced plans might also include features such as 3D renderings, allowing you to visualize your finished shed from different angles before you even cut the first board. This can be incredibly helpful for planning and customization.
Tip: Always double-check the material list against your local building codes and personal preferences before purchasing.
Recommendation: Utilize our integrated Cost Calculator to estimate your project expenses after reviewing the material list. This tool provides a realistic budget based on current material prices in your area.
For visual learners, many plans also offer accompanying video tutorials or detailed photo guides that walk you through each construction phase. For instance, our plans often link to step-by-step videos demonstrating complex techniques like framing a wall or installing roofing. This interactive element makes the building process much more accessible and less daunting. Therefore, these resources empower you to build a substantial and functional structure without the initial financial outlay for design. Consequently, you save money and gain the satisfaction of a DIY project. To access our full suite of 16×24 shed plans with material list, including detailed cut lists and visual aids, Download Your Free Plans Today!
Why Choose 16×24 Shed Plans with Material List for Your Next Project?
Opting for 16×24 shed plans with a material list offers significant advantages. This choice empowers DIY enthusiasts and budget-conscious builders alike. You gain access to professional-grade blueprints without the typical cost. This allows you to allocate more funds to quality materials or essential tools. Consequently, your project benefits from a stronger foundation and a more durable finish.
Unbeatable Value and Cost Savings
Choosing 16×24 shed plans with a material list is a smart financial decision. Professional shed plans can often cost hundreds of dollars. By contrast, these free resources provide all the necessary details at no charge. For example, imagine saving $200 on plans. You can then invest that money into a better roof or more robust siding. This directly enhances your shed’s longevity and appearance. Furthermore, a detailed material list minimizes wasteful over-purchasing. You buy exactly what you need, reducing both cost and environmental impact.
Streamlined Building Process and Confidence
A comprehensive material list and cut list included with the plans simplify your entire build. You’ll know precisely what lumber, hardware, and roofing materials to acquire. This eliminates guesswork and reduces trips to the hardware store. For instance, the cut list provides exact measurements for each piece of wood. This saves you time and prevents costly cutting errors. Moreover, step-by-step instructions demystify complex construction techniques. This empowers even novice builders to tackle a large-scale project with confidence. Our plans aim to provide clarity and support. They guide you through each stage, ensuring a sturdy and functional 16×24 shed. Therefore, you can focus on building, not on figuring out what to do next.
Ready to start? Download your 16×24 shed plans with material list today! Discover our interactive 3D renderings and watch helpful video tutorials. These resources provide a clear visual guide, making your build even easier.
Getting Started: Essential Tools and Safety for Your 16×24 Shed Build
Before embarking on your 16×24 shed construction, meticulous preparation is essential. Gathering the right tools and prioritizing safety protocols will ensure a smooth and successful building experience. Indeed, an organized workspace and a commitment to safety are paramount for any DIY project, especially one of this scale.
Essential Tools for Your 16×24 Shed Build
A well-equipped toolbox is your best friend when building a shed. For this project, you will need a combination of hand tools and power tools.
- Measuring and Marking Tools:
- Tape Measure: A 25-foot tape measure is indispensable for accurate measurements.
- Pencil/Marker: For clear marking on lumber.
- Speed Square/Framing Square: Crucial for ensuring perfect 90-degree angles.
- Level: A 4-foot level will help you maintain plumb and level surfaces throughout the build.
- Cutting Tools:
- Circular Saw: Absolutely necessary for cutting lumber to size. Consider a corded model for consistent power.
- Miter Saw (Optional but Recommended): Provides precise crosscuts and angle cuts, significantly speeding up framing.
- Jigsaw (Optional): Useful for cutting curves or intricate shapes, especially for window or door openings.
- Fastening Tools:
- Hammer: For general nailing, though a nail gun is often preferred.
- Cordless Drill/Driver: Essential for drilling pilot holes and driving screws. Ensure you have a good selection of drill bits and driver bits.
- Nail Gun (Optional but Highly Recommended): A pneumatic nail gun (framing and finish) will dramatically reduce your build time and effort.
- Other Useful Tools:
- Utility Knife: For cutting roofing felt or house wrap.
- Caulk Gun: For sealing gaps and joints.
- Work Gloves: Protect your hands from splinters and abrasions.
Remember, having comprehensive 16×24 shed plans with a material list will often specify unique tool requirements. Therefore, review your plans thoroughly.
Prioritizing Safety on Your Shed Construction Site
Safety is non-negotiable. Consequently, understanding and implementing proper safety measures will prevent accidents and ensure a positive building experience.
- Personal Protective Equipment (PPE):
- Safety Glasses: Always wear eye protection when cutting, drilling, or hammering. Debris can cause serious injury.
- Hearing Protection: Power tools generate significant noise; therefore, earmuffs or earplugs are crucial to prevent hearing damage.
- Work Gloves: Protect your hands from splinters, cuts, and blisters.
- Sturdy Work Boots: Protect your feet from falling objects and provide good traction.
- Tool Safety:
- Read Manuals: For instance, always read and understand the operating manual for every power tool before use.
- Unplug When Not in Use: Always unplug power tools when changing blades, bits, or performing maintenance.
- Keep Blades Sharp: Dull blades can bind and cause kickbacks.
- Proper Stance: Maintain a stable footing when operating power tools.
- Site Safety:
- Clear Workspace: Keep your work area free of clutter to prevent tripping hazards.
- Good Lighting: Ensure adequate lighting, especially if working in the evening.
- Extension Cord Safety: Use heavy-duty, outdoor-rated extension cords and ensure they are not frayed or damaged.
- Never Work Alone with Heavy Materials: When lifting heavy beams or panels, always enlist the help of another person.
By adhering to these safety guidelines and having the correct tools for your 16×24 shed plans with material list, your shed building project will be much safer and more efficient.
Step-by-Step Construction Guide: Building Your 16×24 Shed
Building a 16×24 shed is a rewarding project. Our 16×24 shed plans with material list simplify the process. Follow these steps carefully for a successful build.
Foundation First: Laying the Groundwork
Proper site preparation is crucial. First, clear the area of debris and vegetation. Next, ensure the ground is level. A stable foundation prevents future issues. You have several options for your 16×24 shed:
- Gravel Pad: This is a cost-effective choice. Dig down 6-8 inches, lay a weed barrier, and fill with compacted gravel.
- Concrete Slab: For maximum durability, pour a concrete slab. This requires rebar reinforcement.
- Pier Foundation: This elevates the shed, protecting it from moisture. Concrete blocks or pre-cast piers work well.
Refer to your 16×24 shed plans with material list for specific foundation recommendations. For visual guidance, check out our Video Tutorial: Foundation Installation.
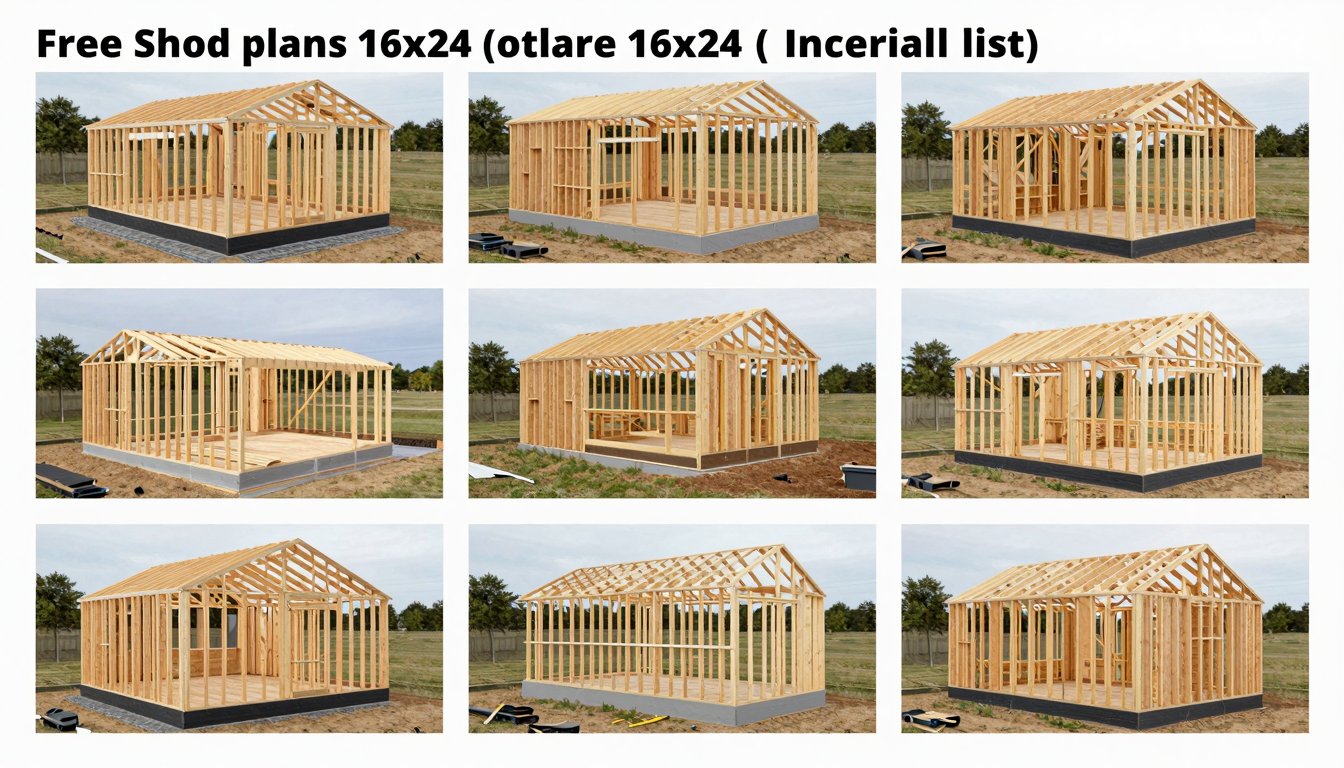
Framing the Structure: Floor, Walls, and Roof
Once your foundation is solid, begin framing. This stage brings your shed to life.
Floor Framing: The Base of Your Shed
Start with the floor frame. Assemble the rim joists and floor joists according to your plans. Use treated lumber for longevity. Ensure everything is square and level. This precision is vital for the entire structure. Consequently, double-check all measurements. Use a speed square and a long level frequently.
Wall Framing: Raising the Sides
Next, frame the walls. Build each wall section flat on the ground. This makes assembly easier and safer. Include studs, headers for doors and windows, and top and bottom plates. Moreover, ensure stud spacing matches your plans. Once assembled, carefully raise each wall section. Brace them securely before moving to the next. For instance, use temporary diagonal bracing.
Roof Framing: Covering Your Investment
The roof is often the most challenging part. Your 16×24 shed plans with material list will detail the truss or rafter design. Cut all components accurately. Assemble trusses on the ground if possible. Then, lift them into place and secure them to the wall plates. Alternatively, build rafters in place. This requires working at height, so exercise extreme caution. Explore 3D Renderings: Roof Framing Details for a clearer understanding.
Finishing Touches: Siding, Roofing, and Openings
With the main structure complete, focus on the exterior.
Roofing Installation: Protecting from the Elements
Install roof sheathing first. Typically, this involves plywood or OSB. After the sheathing, add roofing felt or an underlayment. Finally, install your chosen roofing material. Shingles are common, but metal roofing offers excellent durability. Follow manufacturer instructions carefully.
Siding, Doors, and Windows: The Final Exterior
Apply siding next. Options include wood, vinyl, or engineered wood products. Install windows and doors according to your plans. Ensure they are plumb and level. Seal all openings properly to prevent water intrusion. This step protects your shed’s interior.
Throughout construction, consistently consult your 16×24 shed plans with material list. This ensures you use the correct materials and dimensions. For a detailed breakdown of costs, use our Shed Material Cost Calculator. Download Your Free 16×24 Shed Plans Now! and start building your dream shed today!
Customizing and Finishing Your 16×24 Shed: Beyond the Blueprints
Once the structural integrity of your 16×24 shed is complete, the exciting phase of customization and finishing begins. While your chosen 16×24 shed plans with material list provide the core structure, this is where you can truly make the shed your own. Moreover, these finishing touches significantly enhance both its appearance and overall utility.
Maximizing Interior Functionality
Transform the interior of your 16×24 shed into a highly organized and efficient space. For example, consider various storage solutions to suit your needs.
- Shelving and Cabinets: Install adjustable shelving units along walls for tools, paints, or gardening supplies. Closed cabinets can protect items from dust and offer a cleaner look.
- Workbenches: A sturdy workbench is essential for any workshop. You can build a fixed bench or a foldable one to save space when not in use.
- Pegboards: These are incredibly versatile for hanging smaller tools, keeping them visible and easily accessible.
- Overhead Storage: Utilize the vertical space with overhead racks for lumber, ladders, or seasonal items.
In addition, proper ventilation is crucial. Install gable vents, roof vents, or even a small window to prevent moisture buildup and regulate temperature. This safeguards your stored items and ensures a comfortable working environment.
Enhancing Comfort and Utility
Consider adding electrical wiring for lighting and outlets. This transforms your shed into a versatile workshop, hobby space, or even an office. Consequently, you can work comfortably at any time of day. For a truly unique touch, explore options like a wood-burning stove for heat or a small sink for cleanup. Our interactive 3D renderings can help you visualize these interior layouts before you even lift a hammer.
Exterior Aesthetics and Practical Additions
The exterior of your 16×24 shed is just as important. It should complement your home and landscaping.
- Paint or Stain: Choose a color scheme that harmonizes with your existing property. A quality exterior paint or stain protects the wood and adds curb appeal.
- Roofing: Beyond the basic shingles, consider metal roofing for durability or even a green roof for environmental benefits.
- Windows and Doors: Upgrade to more decorative windows or a robust, secure door. Adding a window can dramatically improve natural light inside.
- Access Ramps: For easy access with wheelbarrows, lawnmowers, or heavy equipment, a well-built ramp is indispensable.
- Landscaping: Soften the shed’s edges with shrubs, flowers, or a small gravel path. This integrates the shed seamlessly into your yard.
Moreover, explore decorative trim, window boxes, or even a small porch for added charm. These elements go beyond the basic 16×24 shed plans with material list. Our video tutorials provide step-by-step guidance for many of these finishing touches, ensuring a professional result. Don’t forget to use our cost calculator to estimate expenses for these additional features, helping you stay within budget.
Ready to turn your vision into reality and build a shed that perfectly suits your needs? Get started today!
Building your own 16×24 shed is a significant undertaking. However, with the right resources, it’s an achievable and highly rewarding project. Our comprehensive guide, featuring 16×24 shed plans with material list and detailed cut lists, is designed to be your ultimate companion throughout this journey. We’ve covered everything from initial planning and tool preparation to the step-by-step construction and final customization. By following these expert-level instructions, you’ll not only save money but also gain invaluable construction skills and the satisfaction of building a durable, functional structure with your own hands. Don’t wait – download our plans, utilize our interactive tools, and start building the 16×24 shed you’ve always envisioned today!


